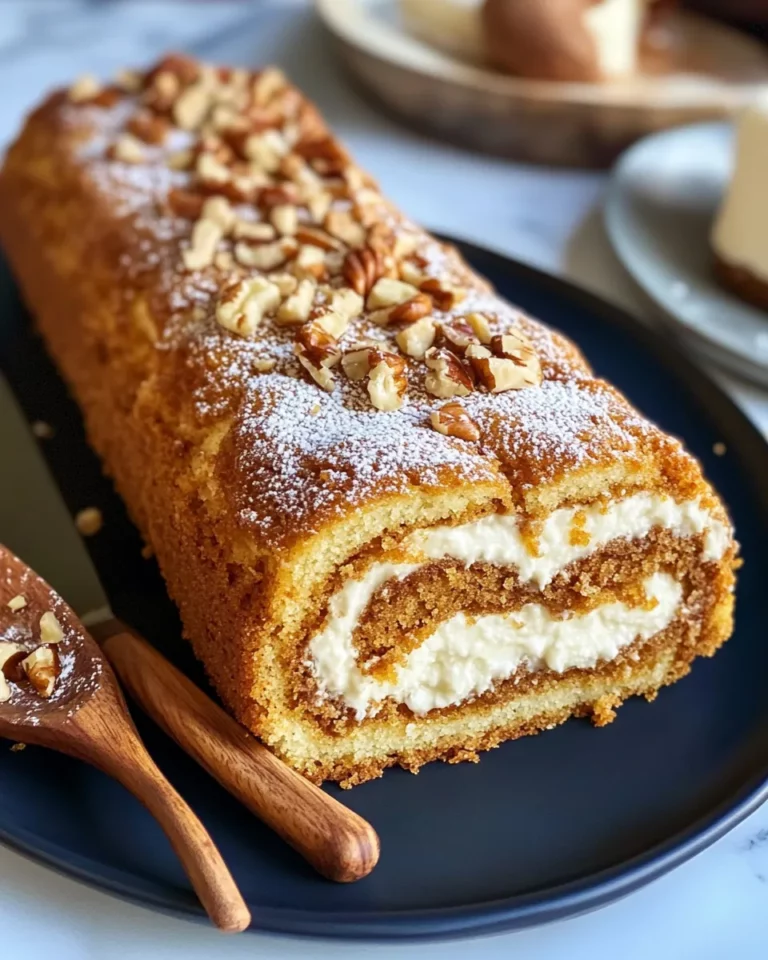
If you’re craving a dessert that’s both comforting and indulgent, the Hot Cocoa Cream Pie is exactly what you need. This luscious pie combines the rich, velvety texture of whipped cream with the nostalgic flavor of hot cocoa, all nestled in a decadent chocolate pie crust. It’s the perfect treat to warm you up during chilly evenings or to impress guests at your next gathering. Best of all, it’s incredibly simple to make using just a handful of ingredients and a pre-made chocolate pie crust, making dessert time both effortless and delightful.
Reasons to Love Hot Cocoa Cream Pie

There are so many reasons why the Hot Cocoa Cream Pie might quickly become your new favorite dessert. First, it’s a no-bake wonder, which means no oven time and minimal cleanup. The pie’s creamy filling is infused with hot cocoa mix, giving it that classic chocolatey warmth we all adore. The addition of mini marshmallows adds a playful texture that mimics the experience of sipping a cup of hot cocoa with all the fixings. Plus, the chocolate shavings on top provide a beautiful, elegant finish that’s sure to impress. Whether you’re serving it at a holiday party or just treating yourself on a cozy night in, this pie hits all the right notes of sweet, creamy, and chocolatey goodness.
What to Buy
- 1 pre-made chocolate pie crust – Available at most grocery stores, this is the base of your pie and saves tons of time.
- 2 cups heavy cream – For whipping into a light and fluffy filling.
- 1/2 cup powdered sugar – To sweeten the cream perfectly without any graininess.
- 1 teaspoon vanilla extract – Adds a rich, aromatic depth to the filling.
- 1 cup hot cocoa mix – Choose your favorite brand; this provides the signature chocolate flavor.
- 1/2 cup mini marshmallows – For that classic hot cocoa topping texture inside the pie.
- 1/4 cup chocolate shavings – Use dark or milk chocolate for garnish and an extra chocolate punch.
Tools & Equipment Needed
- Mixing bowl – For whipping the cream and combining ingredients.
- Electric mixer or hand whisk – To whip the heavy cream to stiff peaks.
- Spatula – For folding in ingredients gently.
- Measuring cups and spoons – To ensure accurate ingredient portions.
- Pie dish – If your pre-made crust isn’t already in one.
- Grater or peeler – To create beautiful chocolate shavings for garnish.
The Method for Hot Cocoa Cream Pie

Step 1: Chill Your Equipment
Before you start, place your mixing bowl and beaters in the refrigerator for about 15 minutes. Cold equipment helps the heavy cream whip up faster and with better volume.
Step 2: Whip the Cream
Pour 2 cups of heavy cream into the chilled bowl. Using an electric mixer or hand whisk, beat the cream on medium-high speed until it starts to thicken. Gradually add the 1/2 cup powdered sugar and 1 teaspoon vanilla extract, then continue beating until stiff peaks form. Be careful not to overwhip; you want the cream fluffy and firm but not grainy.
Step 3: Add Hot Cocoa Mix
Gently fold in the 1 cup hot cocoa mix into the whipped cream using a spatula. Fold carefully to keep the cream light and airy while evenly distributing the cocoa flavor.
Step 4: Prepare the Pie Crust
If your pre-made chocolate pie crust isn’t already in a pie dish, press it gently into the dish, ensuring there are no cracks or holes. If needed, refrigerate the crust for 10 minutes to firm it up.
Step 5: Assemble the Pie
Pour half of the whipped cocoa cream filling into the pie crust. Scatter 1/2 cup mini marshmallows evenly over the filling. Then, carefully spread the remaining cocoa cream mixture on top, smoothing it out with a spatula.
Step 6: Garnish and Chill
Sprinkle 1/4 cup chocolate shavings generously over the top of the pie for a beautiful finishing touch. Place the pie in the refrigerator and chill for at least 4 hours, or overnight if possible. This allows the flavors to meld and the filling to set perfectly.
Step 7: Serve
Slice the pie with a sharp knife and serve cold. For an extra cozy experience, pair it with a warm cup of tea or coffee.
Substitutions by Diet

- Heavy Cream: Substitute with coconut cream for a dairy-free version. Chill a can of full-fat coconut milk overnight and scoop out the solid cream.
- Powdered Sugar: Use a natural sweetener like powdered erythritol or coconut sugar powder if you prefer a low-glycemic option.
- Hot Cocoa Mix: Use homemade cocoa powder blend with sugar and a pinch of cinnamon to avoid additives or artificial ingredients.
- Chocolate Pie Crust: Swap for gluten-free chocolate cookie crust to make the recipe gluten-free.
- Mini Marshmallows: Use vegan marshmallows available at most specialty stores for a plant-based alternative.
Cook’s Notes
- Make sure the heavy cream is very cold before whipping; this will help it reach stiff peaks more easily.
- If you want a stronger chocolate flavor, add a tablespoon of unsweetened cocoa powder along with the hot cocoa mix.
- Use good-quality chocolate for shavings to enhance the pie’s taste and presentation.
- Be gentle when folding in the hot cocoa mix to keep the cream light and fluffy.
- For a fun twist, try adding a teaspoon of instant espresso powder to the filling for a mocha flavor.
Storage & Reheat Guide
The Hot Cocoa Cream Pie is best enjoyed chilled straight from the fridge. Store any leftovers covered tightly with plastic wrap or an airtight container in the refrigerator for up to 3 days.
Because this pie is served cold and does not contain baked filling, reheating is not recommended. Simply allow the pie to sit at room temperature for about 10 minutes before serving if it feels too firm from the fridge.
Troubleshooting Q&A
Why isn’t my whipped cream forming stiff peaks?
Make sure your heavy cream and mixing bowl are cold before whipping. Also, check the freshness of your cream—older cream sometimes doesn’t whip well. Whip at medium-high speed and be patient; it usually takes several minutes.
My pie crust got soggy. How can I prevent that?
To avoid soggy crust, you can blind-bake the chocolate pie crust for 5-7 minutes before filling, or refrigerate the crust well before adding the filling. This helps create a barrier and keeps the crust crisp.
Can I use regular cocoa powder instead of hot cocoa mix?
Yes, but you’ll need to adjust the sweetness. Hot cocoa mix contains sugar and sometimes milk powder, so if using unsweetened cocoa powder, add extra powdered sugar to taste.
How do I get my chocolate shavings to look nice?
Use a vegetable peeler or a sharp knife to shave chocolate bars at room temperature. Slightly chilled chocolate can crack, so avoid refrigerating the chocolate before shaving.
Keep Cooking
- Easy Chocolate Pie – A rich and creamy chocolate pie from a favorite baking blog.
- Hot Chocolate Cookies – Warm cookie recipe inspired by classic cocoa flavors.
- Vegan Hot Chocolate – A dairy-free take on the beloved winter drink.
- Marshmallow Frosting – Perfect for topping cupcakes or cakes with a fluffy, sweet finish.
Time to Try It
Now that you have everything you need and know exactly how to bring this luscious dessert to life, it’s time to dive in and make your own Hot Cocoa Cream Pie. Whether you’re making it for a special occasion or simply to satisfy a sweet craving, this pie is sure to deliver all the cozy chocolate magic you’re dreaming about. Gather your ingredients, whip up that creamy filling, and enjoy every bite of this delightful, no-fuss dessert. Happy baking!
Share on Pinterest


Hot Cocoa Cream Pie
Ingredients
- 1 pre-made chocolate pie crust
- 2 cups heavy cream
- 1/2 cup powdered sugar
- 1 teaspoon vanilla extract
- 1 cup hot cocoa mix
- 1/2 cup mini marshmallows
- 1/4 cup chocolate shavings dark or milk chocolate
Instructions
Chill Your Equipment
- Place your mixing bowl and beaters in the refrigerator for about 15 minutes to chill.
Whip the Cream
- Pour 2 cups of heavy cream into the chilled bowl. Beat on medium-high speed until it starts to thicken.
- Gradually add 1/2 cup powdered sugar and 1 teaspoon vanilla extract, then continue beating until stiff peaks form.
Add Hot Cocoa Mix
- Gently fold in 1 cup hot cocoa mix into the whipped cream using a spatula, keeping the cream light and airy.
Prepare the Pie Crust
- If your pre-made chocolate pie crust isn’t in a pie dish, press it gently into one, ensuring no cracks or holes. Refrigerate for 10 minutes if needed.
Assemble the Pie
- Pour half the whipped cocoa cream filling into the pie crust.
- Scatter 1/2 cup mini marshmallows evenly over the filling.
- Spread the remaining cocoa cream mixture on top, smoothing with a spatula.
Garnish and Chill
- Sprinkle 1/4 cup chocolate shavings over the top of the pie.
- Place the pie in the refrigerator and chill for at least 4 hours or overnight.
Serve
- Slice the pie with a sharp knife and serve cold. Pair with warm tea or coffee if desired.
Equipment
- Mixing bowl
- Electric mixer or hand whisk
- Spatula
- Measuring cups and spoons
- Pie dish
- Grater or peeler
Notes
- Ensure the heavy cream and equipment are very cold for best whipping results.
- For stronger chocolate flavor, add a tablespoon of unsweetened cocoa powder with the hot cocoa mix.
- Use good-quality chocolate for shavings to enhance taste and presentation.
- Fold hot cocoa mix gently to keep the cream light and fluffy.
- Try adding a teaspoon of instant espresso powder for a mocha twist.
