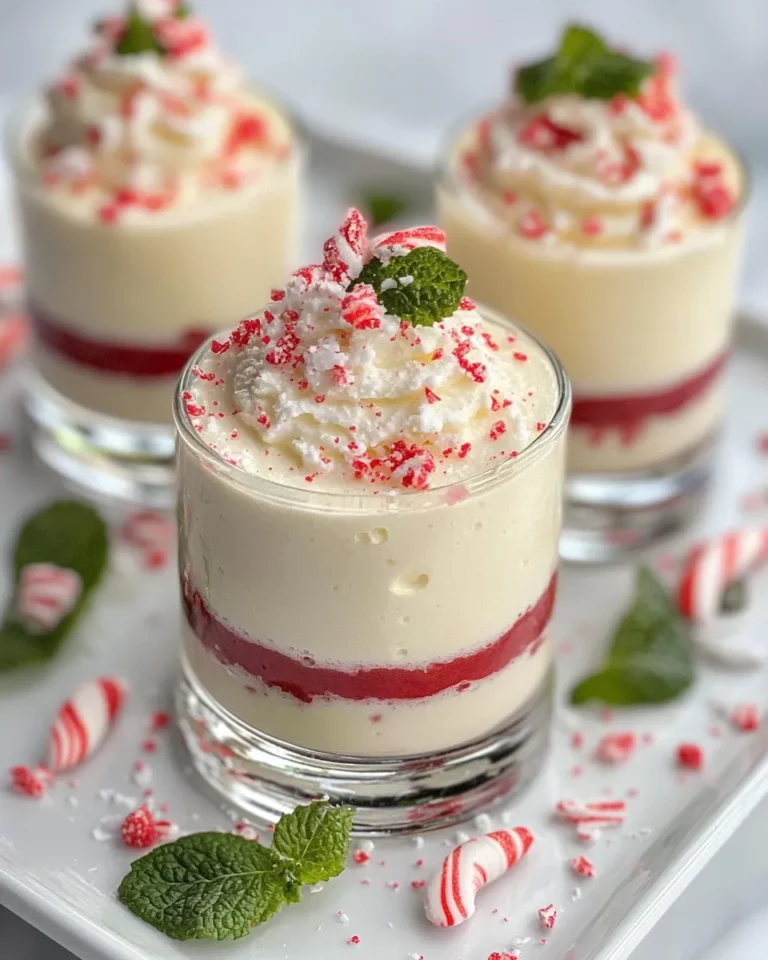
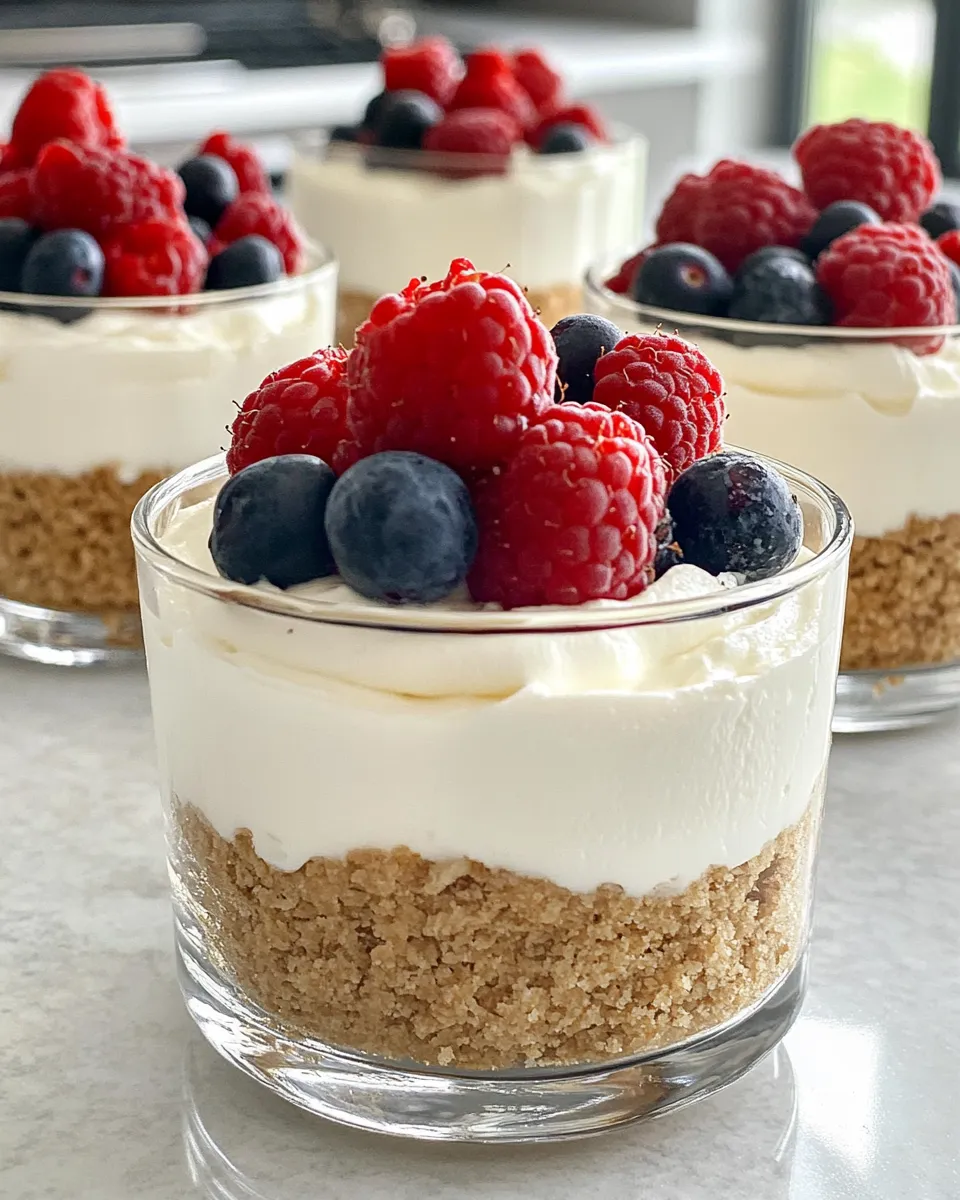
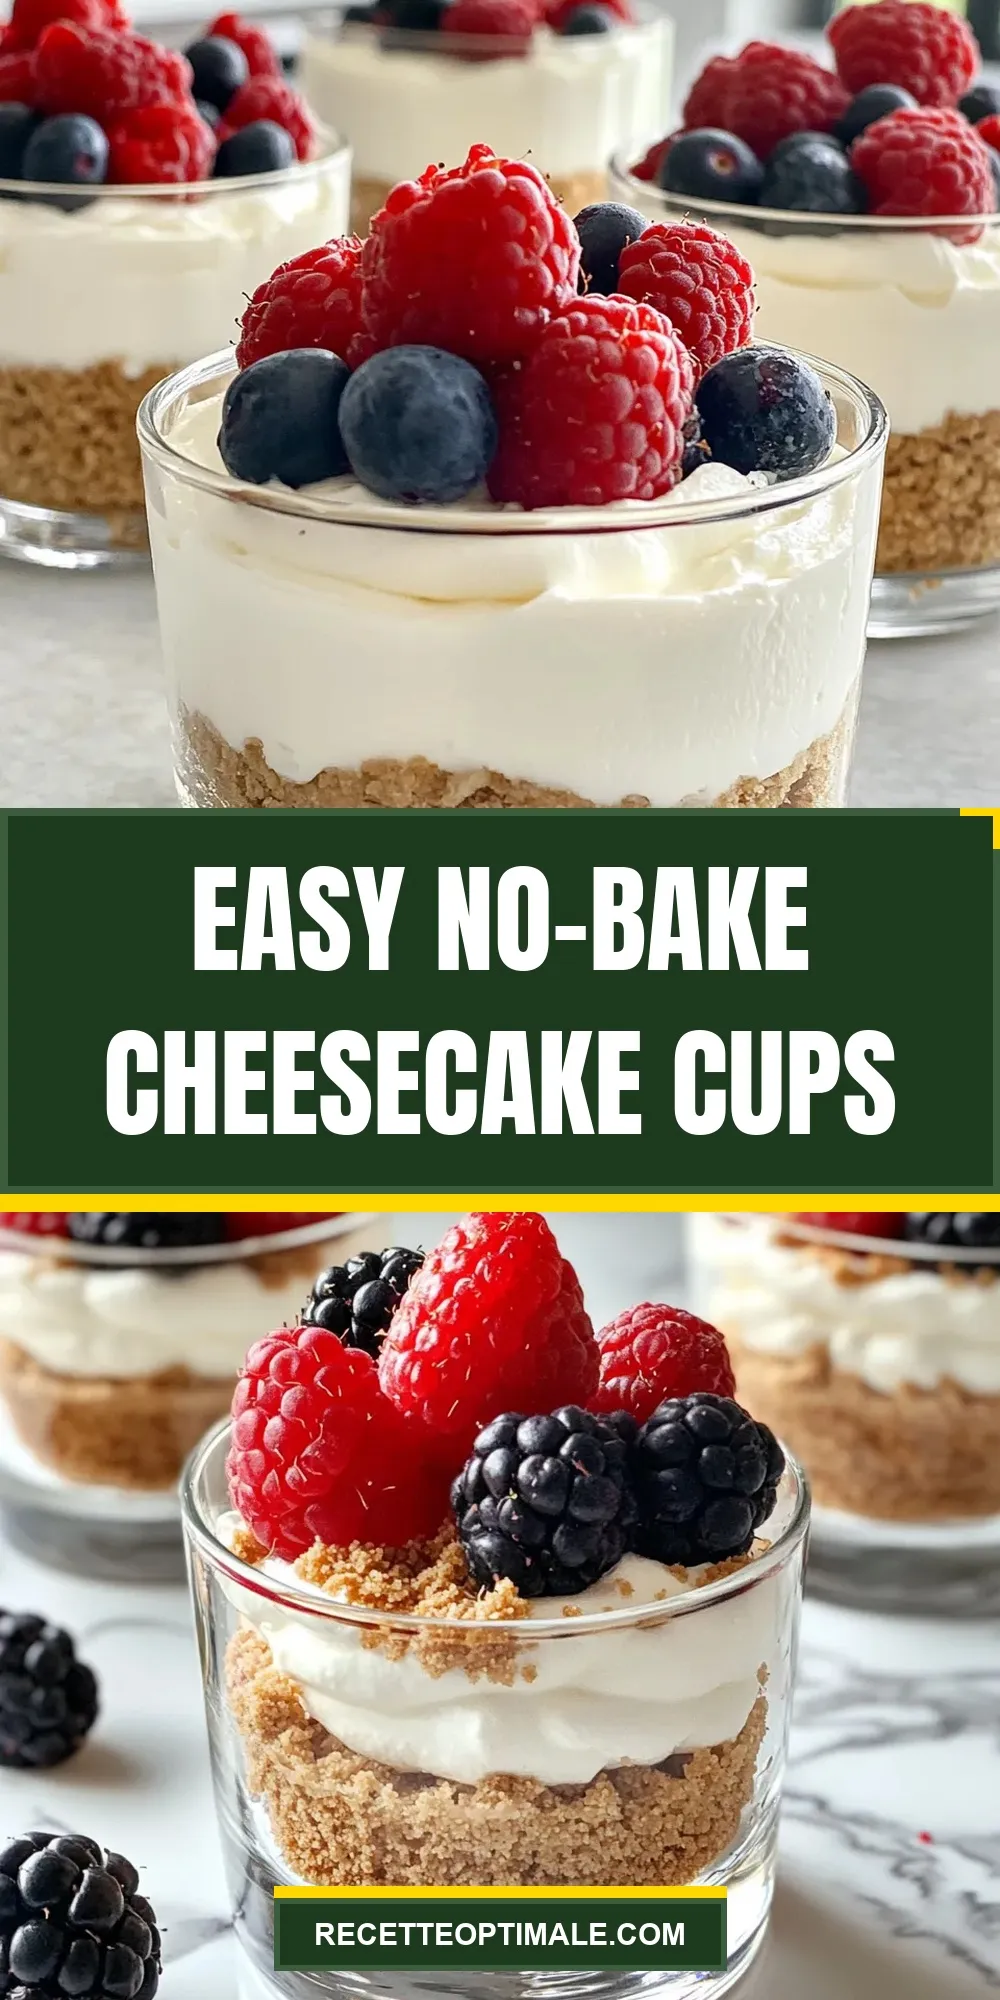
Looking for a delightfully creamy dessert that comes together in minutes and requires no oven time? These Easy No-Bake Cheesecake Cups are your new best friend. Perfect for when you want a sweet treat without the fuss, they deliver all the richness and tang of traditional cheesecake in a convenient, individual serving. Whether you’re entertaining guests or craving a quick indulgence, these cups are guaranteed to satisfy.
What Sets This Recipe Apart
Unlike classic baked cheesecakes, these Easy No-Bake Cheesecake Cups require no baking, making them incredibly simple and quick to prepare. The texture is silky smooth and luscious, thanks to the whipped heavy cream which lightens the cream cheese filling beautifully. The buttery graham cracker crust forms a crumbly base that perfectly balances the creamy filling. Plus, serving in cups means less mess and fuss—no slicing needed.
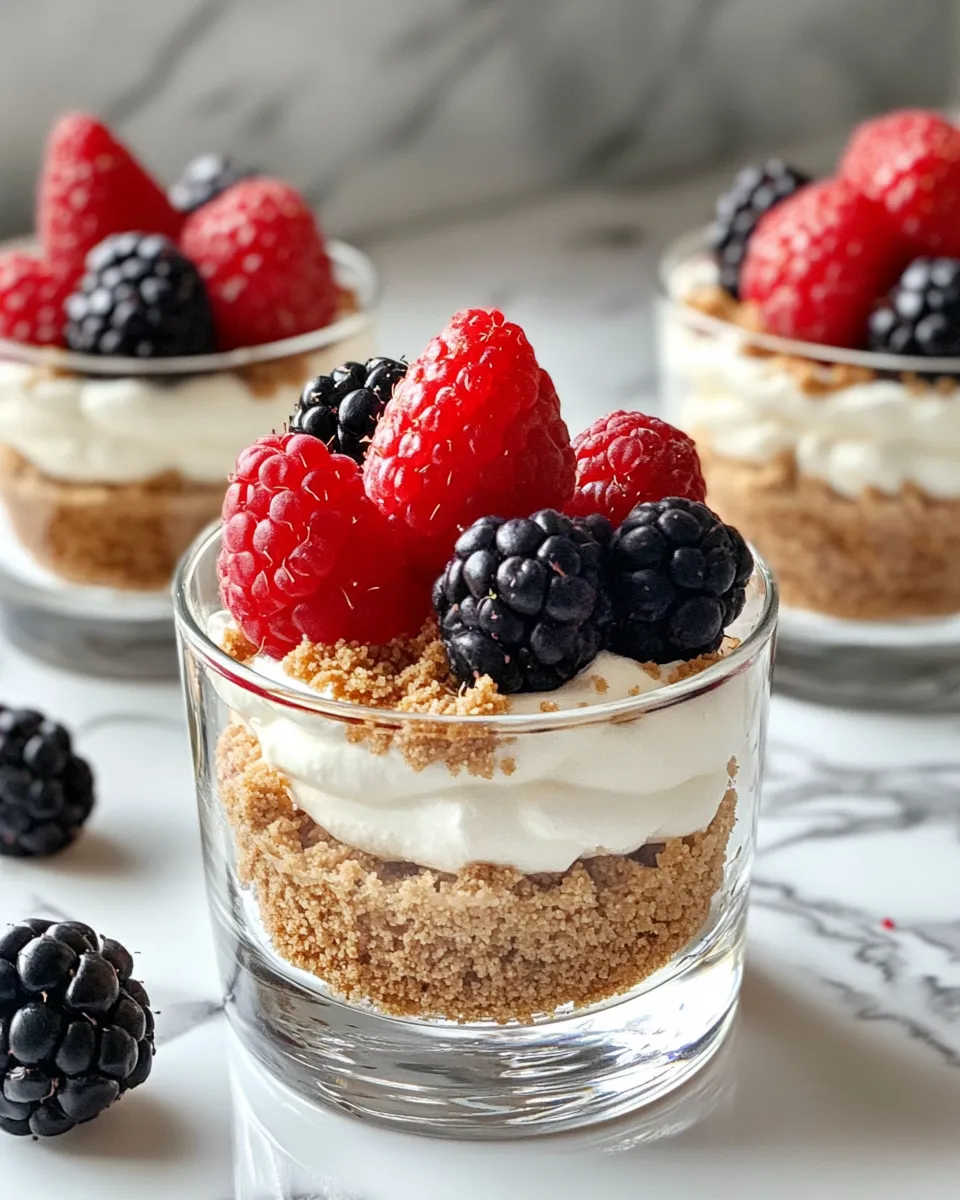
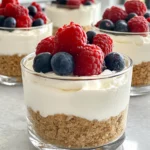
What really makes this recipe shine is how customizable it is: you can top with fresh berries, drizzle with chocolate, or sprinkle crushed nuts. It’s a versatile dessert that suits any occasion, from casual family dinners to special celebrations.
What’s in the Bowl
- 1 cup graham cracker crumbs – the foundation of our crust, providing a sweet, crunchy base.
- 1/2 cup unsalted butter, melted – binds the crust together and adds richness.
- 2 cups cream cheese, softened – the star ingredient for that classic cheesecake flavor and creamy texture.
- 1 cup powdered sugar – sweetens the filling smoothly without any graininess.
- 1 teaspoon vanilla extract – enhances the overall flavor with warm, aromatic notes.
- 1 cup heavy whipping cream – whipped to stiff peaks to lighten the filling and create a fluffy texture.
- Fresh berries for topping (optional) – adds a burst of color, freshness, and natural sweetness.
Setup & Equipment
- Mixing bowls – at least two: one for crust, one for filling.
- Hand mixer or stand mixer – to whip the heavy cream and beat the cream cheese filling smooth.
- Spoons or spatulas – for combining ingredients and layering.
- Measuring cups and spoons – to ensure precise ingredient amounts.
- Serving cups or small jars – to assemble and chill the cheesecake cups individually.
- Refrigerator space – to chill and set the cheesecake cups before serving.
Easy No-Bake Cheesecake Cups Made Stepwise
Step 1: Prepare the Crust
Start by combining the graham cracker crumbs with the melted unsalted butter in a bowl. Stir until the crumbs are evenly coated and start to clump together. This mixture will create a flavorful, crunchy crust for your cheesecake cups.
Step 2: Assemble the Crust in Cups
Spoon about 2 tablespoons of the crust mixture into the bottom of each serving cup or jar. Press gently with the back of a spoon or your fingers to compact the crust firmly. This will prevent it from falling apart when you add the filling.
Step 3: Make the Cheesecake Filling
In a large mixing bowl, beat the softened cream cheese until smooth and creamy using a hand or stand mixer. Gradually add the powdered sugar and vanilla extract, beating until fully combined and silky.
In a separate chilled bowl, whip the heavy cream to stiff peaks. Gently fold the whipped cream into the cream cheese mixture using a spatula. This step lightens the filling, giving it a fluffy texture that melts in your mouth.
Step 4: Fill the Cups
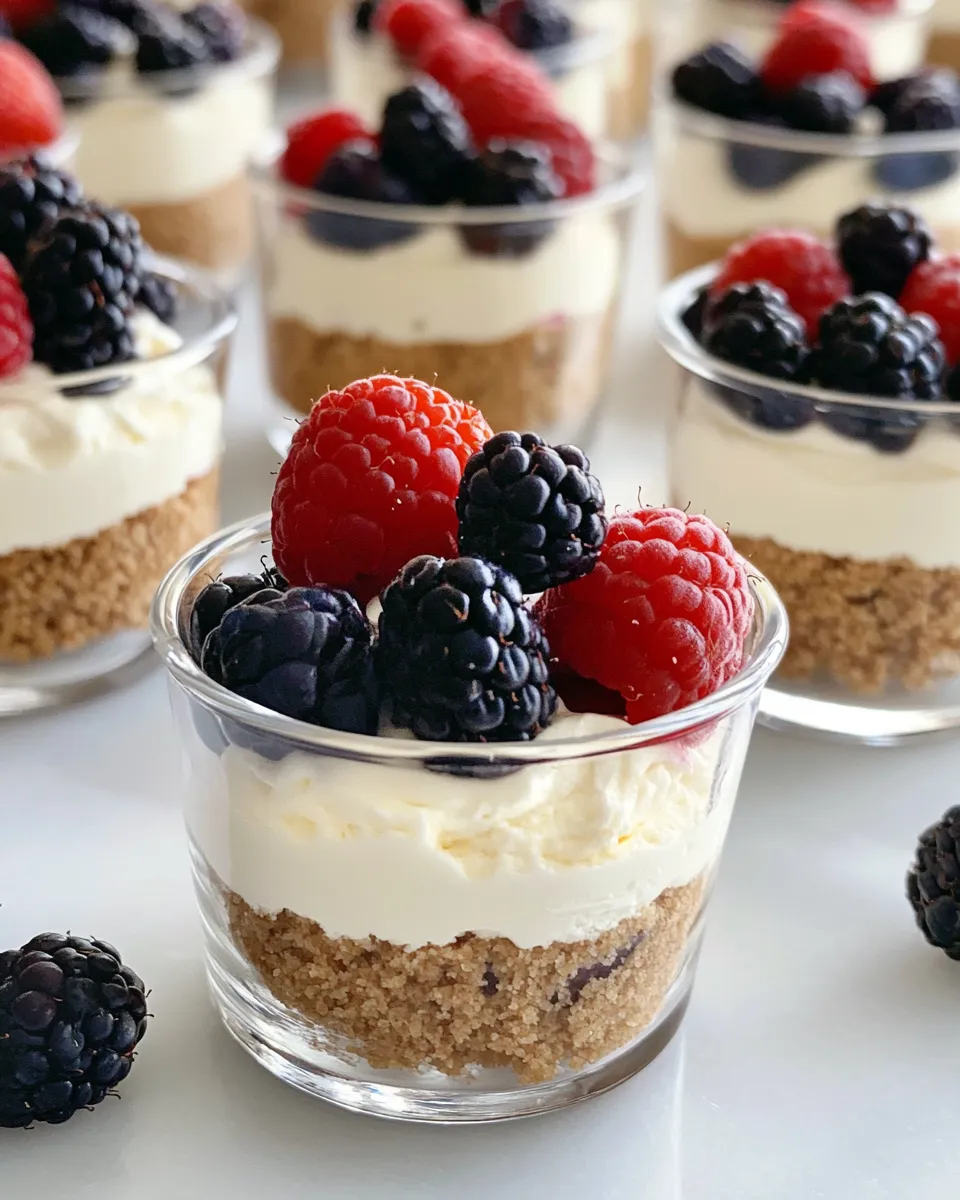
Divide the cheesecake filling evenly among the cups, spooning it over the prepared crust layer. Smooth the tops gently with the back of a spoon or an offset spatula for a polished look.
Step 5: Chill and Serve
Place the cheesecake cups in the refrigerator for at least 4 hours, or overnight if you have the time. This chilling allows the filling to set perfectly, making the cups firm but creamy.
Before serving, top each cup with fresh berries or your favorite garnish for a pop of color and added flavor.
Quick Replacement Ideas

- Swap graham cracker crumbs with crushed digestive biscuits or vanilla wafers.
- Use coconut oil instead of butter for a dairy-free crust option.
- Try mascarpone cheese instead of cream cheese for a richer, Italian-style cheesecake.
- Replace fresh berries with a drizzle of caramel or chocolate sauce for a decadent twist.
Notes on Ingredients
- Cream Cheese: Make sure it’s softened to room temperature to avoid lumps and ensure a smooth filling.
- Powdered Sugar: This dissolves easily, making the filling silky without graininess. Adjust sweetness to taste.
- Heavy Whipping Cream: Chill the bowl and beaters before whipping for best results and easier stiff peaks.
- Graham Cracker Crumbs: You can crush whole graham crackers at home using a food processor or a rolling pin inside a sealed bag.
- Vanilla Extract: Pure vanilla extract adds the best flavor, but you can use vanilla bean paste for an extra touch of luxury.
Save for Later: Storage Tips
Store the Easy No-Bake Cheesecake Cups covered in the refrigerator for up to 3 days. If you want to prepare them ahead of time for a party, assembling them a day prior works perfectly.
For longer storage, you can freeze the cups (without fresh berry toppings) for up to 1 month. Thaw in the refrigerator overnight before serving. Note that texture might slightly change after freezing but will still taste delicious.
Questions People Ask
Can I make these cheesecake cups vegan or dairy-free?
Yes! You can substitute the cream cheese with a plant-based cream cheese alternative and use coconut cream whipped instead of heavy cream. Swap the butter for coconut oil in the crust. The texture and flavor will differ slightly but remain delightful.
How long do the cheesecake cups need to chill?
They need a minimum of 4 hours to set properly in the refrigerator, but chilling overnight results in the best texture and flavor.
Can I prepare these cups in larger containers instead of individual servings?
Absolutely! You can assemble this recipe in a larger dish for a traditional cheesecake feel. Just increase the crust and filling layers accordingly and chill as usual. For a fun twist, try these Chocolate Hazelnut Cheesecake Bars for a baked alternative.
What toppings work best with these cheesecake cups?
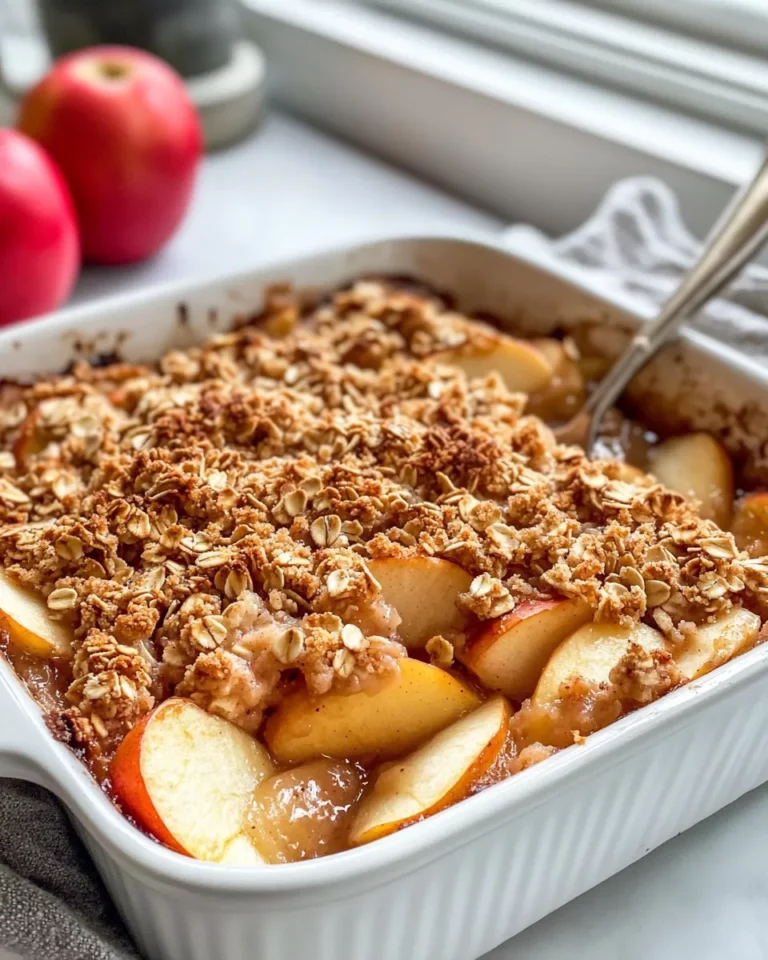
Fresh berries such as strawberries, blueberries, and raspberries are a classic choice because they add freshness and color. You can also use chocolate shavings, caramel drizzle, or chopped nuts. For a warm dessert, try pairing them with Cheesecake Stuffed Baked Apples for a cozy complement.
Cook This Next
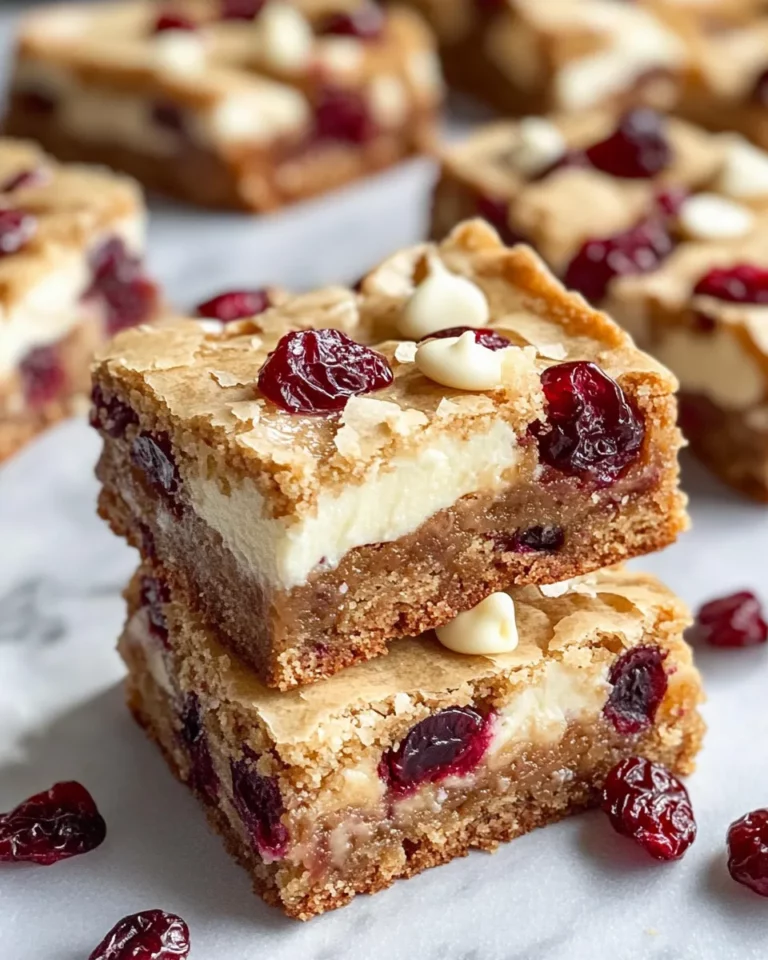
- Chocolate Hazelnut Cheesecake Bars – a rich, baked cheesecake treat with a nutty twist.
- Cheesecake Stuffed Baked Apples – warm, comforting baked apples filled with creamy cheesecake.
Let’s Eat
With their creamy filling and buttery crust, these Easy No-Bake Cheesecake Cups are a crowd-pleaser every time. Grab a spoon, dive into the luscious layers, and enjoy the harmony of flavors and textures. They’re perfect for when you want to impress with minimal effort and maximum flavor. Serve chilled, share with friends, and savor every bite of this simple yet indulgent dessert.
Ready to make your day sweeter? Gather your ingredients and get started on these irresistible cheesecake cups—you won’t regret it!
Share on Pinterest
Easy No-Bake Cheesecake Cups
Ingredients
- 1 cup graham cracker crumbs sweet, crunchy base
- 1/2 cup unsalted butter melted
- 2 cups cream cheese softened
- 1 cup powdered sugar
- 1 teaspoon vanilla extract
- 1 cup heavy whipping cream whipped to stiff peaks
- Fresh berries for topping, optional
Instructions
Prepare the Crust
- Start by combining the graham cracker crumbs with the melted unsalted butter in a bowl. Stir until the crumbs are evenly coated and start to clump together.
Assemble the Crust in Cups
- Spoon about 2 tablespoons of the crust mixture into the bottom of each serving cup or jar. Press gently with the back of a spoon or your fingers to compact the crust firmly.
Make the Cheesecake Filling
- In a large mixing bowl, beat the softened cream cheese until smooth and creamy using a hand or stand mixer. Gradually add the powdered sugar and vanilla extract, beating until fully combined and silky.
- In a separate chilled bowl, whip the heavy cream to stiff peaks. Gently fold the whipped cream into the cream cheese mixture using a spatula.
Fill the Cups
- Divide the cheesecake filling evenly among the cups, spooning it over the prepared crust layer. Smooth the tops gently with the back of a spoon or an offset spatula for a polished look.
Chill and Serve
- Place the cheesecake cups in the refrigerator for at least 4 hours, or overnight if you have the time.
- Before serving, top each cup with fresh berries or your favorite garnish for a pop of color and added flavor.
Equipment
- Mixing bowls
- Hand mixer or stand mixer
- Spoons or spatulas
- Measuring cups and spoons
- Serving cups or small jars
- Refrigerator
Notes
- Make sure cream cheese is softened to room temperature for a smooth filling.
- Chill the bowl and beaters before whipping heavy cream for best results.
- Store cheesecake cups covered in the refrigerator up to 3 days or freeze without toppings for up to 1 month.