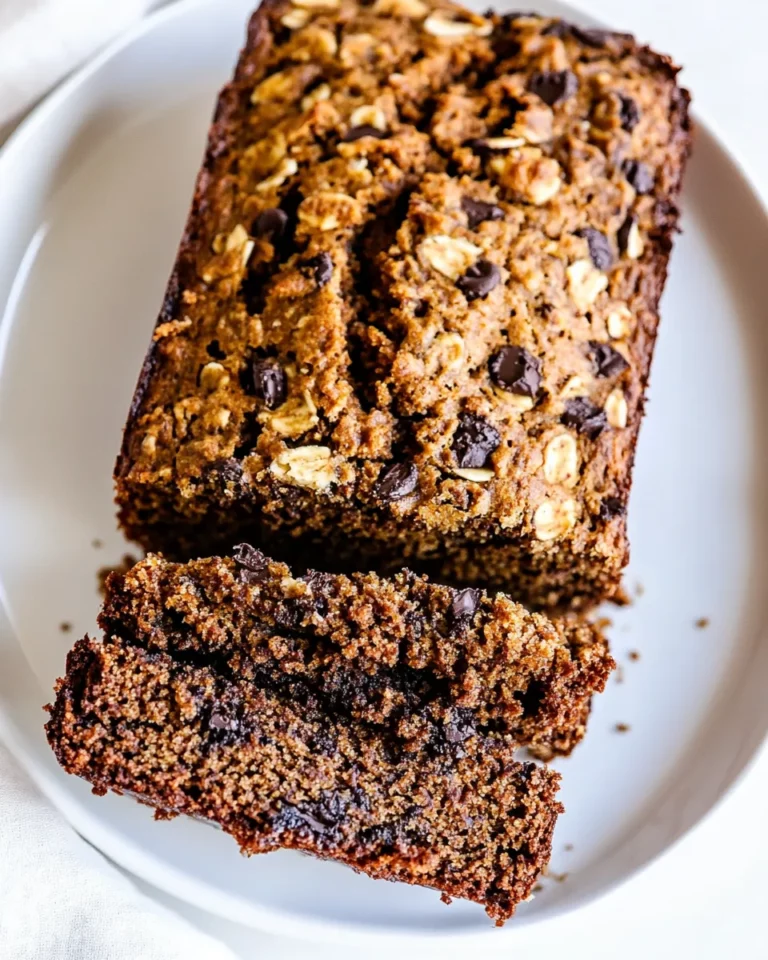
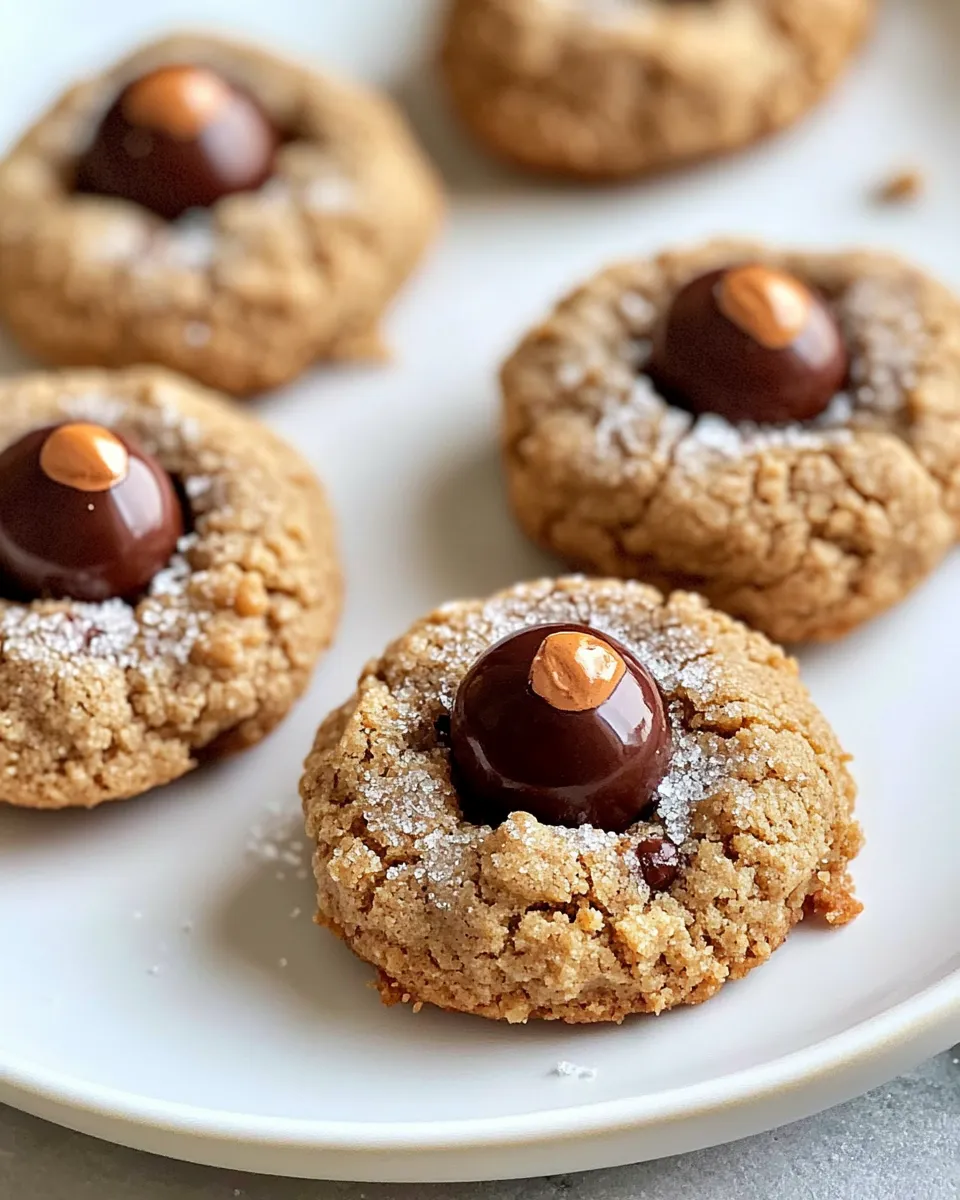
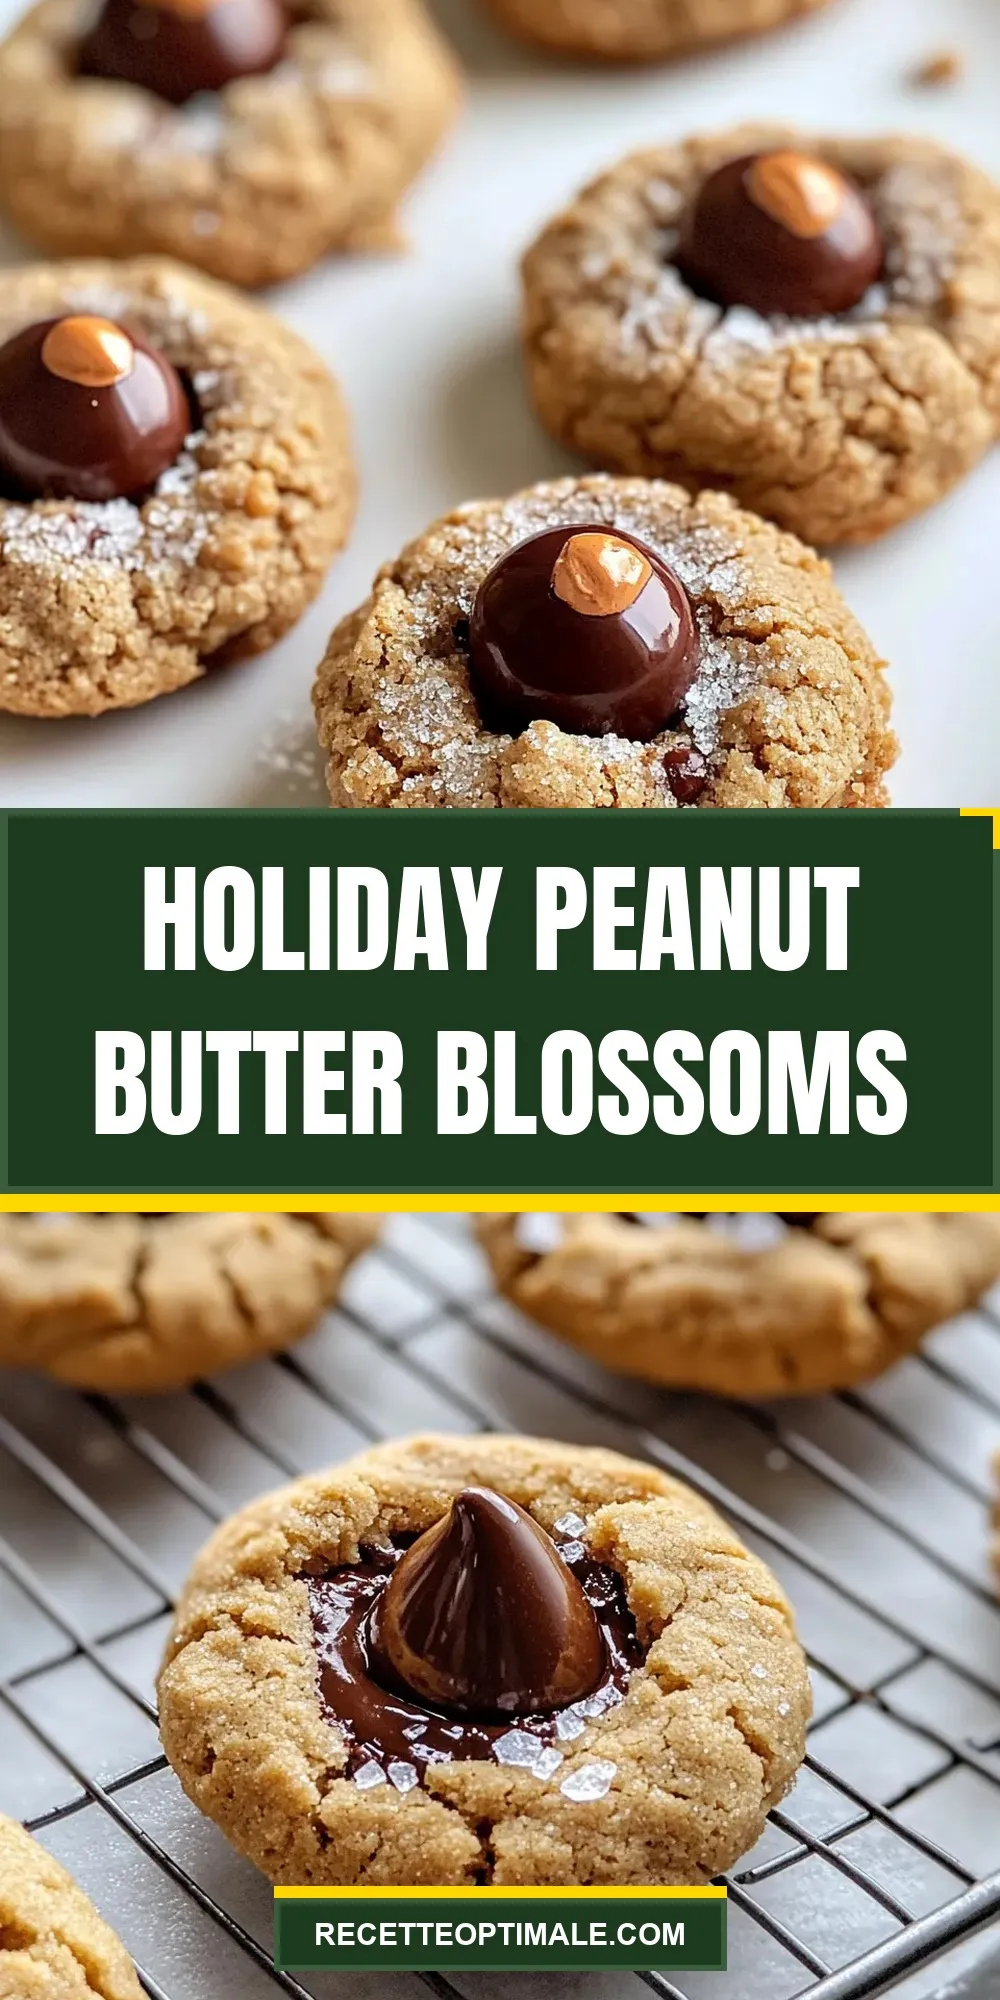
The festive season calls for treats that bring warmth, joy, and that perfect bite of nostalgia. Enter the Holiday Peanut Butter Blossoms — a delightful cookie that combines the rich, creamy flavor of peanut butter with the sweet touch of chocolate kisses, creating a holiday classic everyone will adore. These cookies are soft, chewy, and just the right balance of sweet and salty, making them an irresistible addition to any holiday cookie tray. Whether you’re baking for family gatherings or gifting to friends, this recipe will quickly become a favorite in your holiday rotation.
Why This Recipe Belongs in Your Rotation

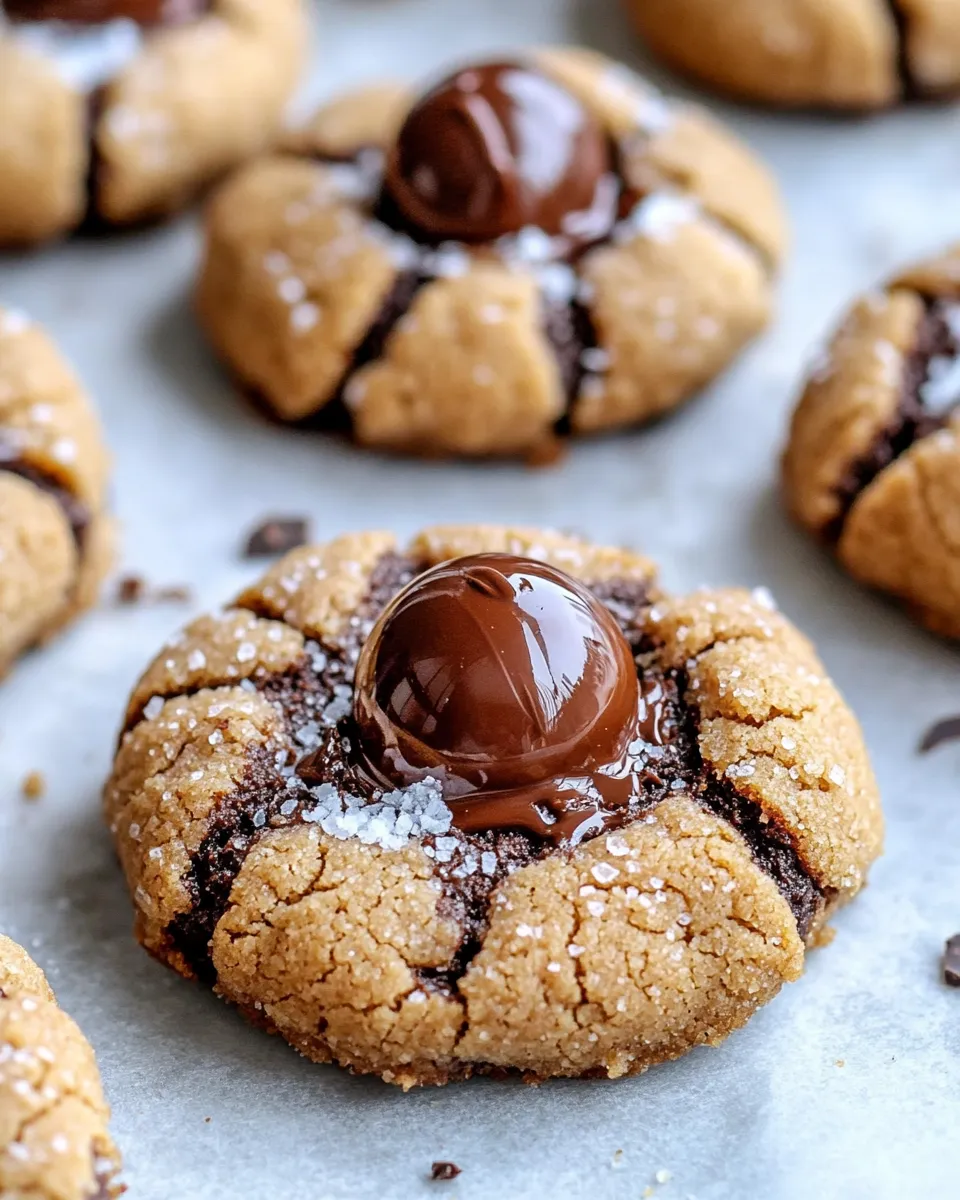
What sets these Holiday Peanut Butter Blossoms apart is their simplicity paired with incredible flavor. The recipe requires just one bowl, minimal ingredients, and yields a batch of cookies that are soft on the inside with a lightly crisp exterior. The addition of rich cocoa powder gives a subtle chocolate twist that elevates the classic peanut butter cookie. Topping each with a chocolate candy like Hershey’s Kisses adds that iconic holiday look and a melty chocolate center that’s pure bliss. Plus, this recipe is perfect for bakers of all skill levels — from first-timers to seasoned pros.
If you love cookies with a peanut butter punch, you might also enjoy the Peanut Butter Stuffed Brownie Cookies for an indulgent treat that’s just as easy to make.
Ingredient Checklist
- 1 cup creamy peanut butter – The star ingredient providing a creamy, nutty base.
- 1 cup granulated sugar – Sweetens and helps the cookies crisp slightly on the edges.
- 1 cup packed brown sugar – Adds moisture and a deep caramel flavor.
- 1 cup unsweetened cocoa powder – Gives a rich chocolate undertone without overpowering the peanut butter.
- 2 large eggs – Bind the ingredients and help create a chewy texture.
- 1 teaspoon baking soda – A leavening agent that makes the cookies rise just enough.
- 1 teaspoon vanilla extract – Enhances all the flavors with a warm, fragrant note.
- 1/4 teaspoon salt – Balances the sweetness and brings out the peanut butter’s richness.
- 1 cup chocolate candies (like Hershey’s Kisses), unwrapped – Adds the final festive touch and gooey chocolate center.
Prep & Cook Tools
- Mixing bowl: A large bowl to combine ingredients with ease.
- Measuring cups and spoons: For precise ingredient measurement.
- Electric mixer or sturdy spoon: To blend the dough until smooth.
- Baking sheet: For baking the cookies evenly.
- Parchment paper or silicone baking mat: Prevents sticking and makes cleanup simple.
- Cooling rack: Allows cookies to cool properly without getting soggy.
- Spoon or cookie scoop: For uniform cookie sizes.
Holiday Peanut Butter Blossoms in Steps
Step 1: Preheat and Prepare
Begin by preheating your oven to 350°F (175°C). Line your baking sheet with parchment paper or a silicone baking mat to prevent sticking. This simple step saves time on cleanup and helps your cookies bake evenly.
Step 2: Mix the Wet Ingredients
In a large mixing bowl, combine the creamy peanut butter, granulated sugar, and brown sugar. Use an electric mixer or a sturdy spoon to blend until smooth and creamy. Beat in the eggs one at a time, followed by the vanilla extract, ensuring everything is incorporated well.
Step 3: Add the Dry Ingredients
Sift together the unsweetened cocoa powder, baking soda, and salt. Gradually add these dry ingredients to the peanut butter mixture. Stir until the dough is uniform in color and texture. The dough will be slightly thick but easy to scoop.
Step 4: Shape the Cookies
Using a spoon or cookie scoop, form dough balls about 1 inch in diameter. Place them evenly spaced on the prepared baking sheet. You want to leave enough room for the cookies to spread slightly during baking.
Step 5: Bake and Add the Chocolate Candies
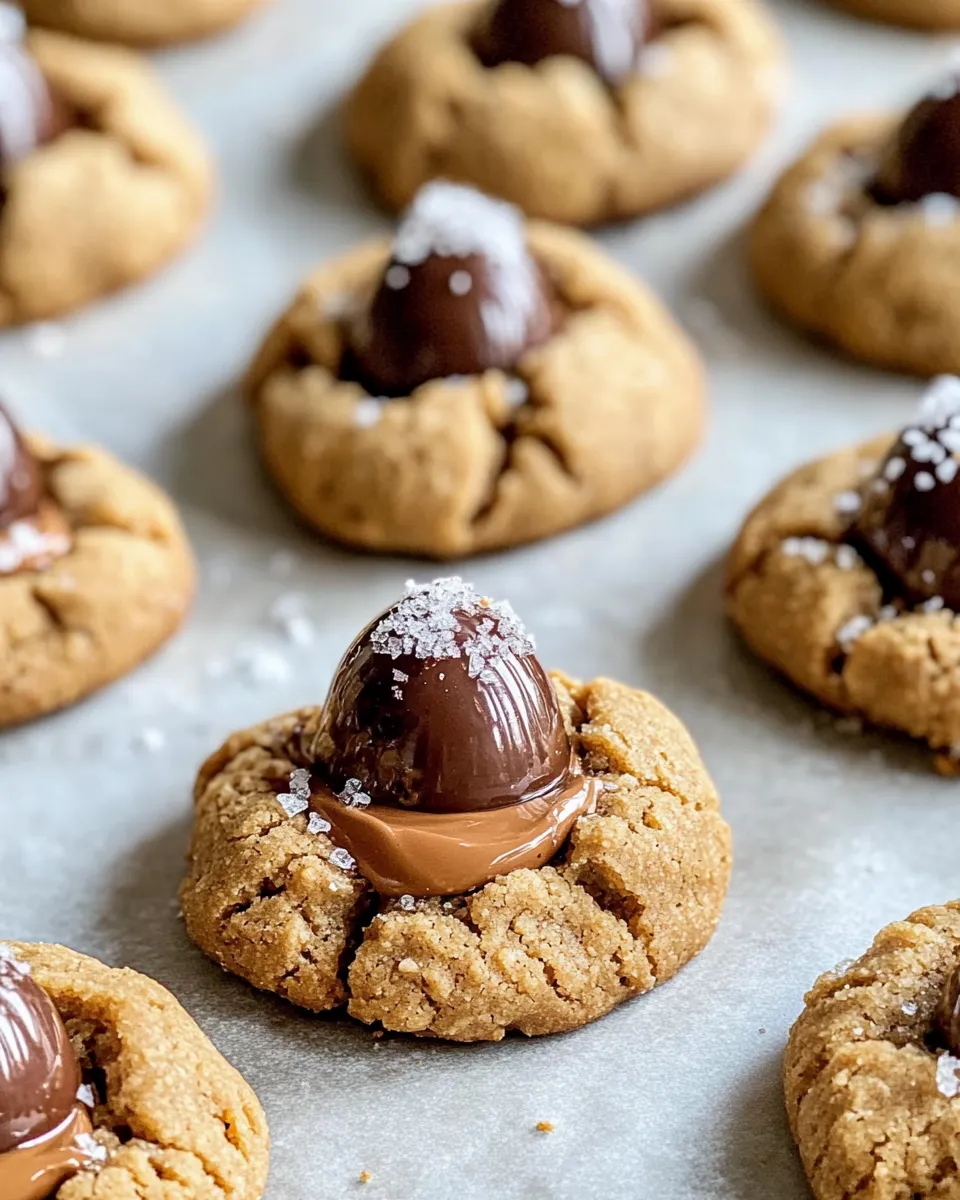
Bake the cookies for 8–10 minutes until the edges are set but the centers are still soft. Remove the baking sheet from the oven, and immediately press an unwrapped chocolate candy into the center of each cookie. The warmth will soften the chocolate slightly, creating that perfect melty center.
Step 6: Cool and Enjoy
Allow the cookies to cool on the baking sheet for about 5 minutes. Then transfer them to a cooling rack to cool completely. This step ensures the cookies set perfectly without becoming too soft.
For an extra chocolate fix, these cookies pair beautifully with Brown Butter Chocolate Chunk Cookies, offering a rich and buttery contrast to the peanut butter blossoms.
Vegan & Vegetarian Swaps
- Egg substitute: Use flax eggs (1 tablespoon ground flaxseed mixed with 3 tablespoons water per egg) to replace the eggs.
- Peanut butter: Ensure your peanut butter does not contain any animal-derived additives.
- Chocolate candies: Choose dairy-free or vegan chocolate kisses to maintain the same melty effect.
- Brown sugar and granulated sugar: Confirm they are processed without bone char for vegan compliance.
Learn from These Mistakes
- Overbaking: Baking cookies too long will make them dry and crumbly. Pull them out when the edges are set but the centers look slightly underbaked.
- Not pressing the chocolate candies immediately: If you wait too long after baking, the cookies will harden, and the chocolate won’t melt properly.
- Skipping parchment paper or silicone mats: This can cause cookies to stick and break when removing from the pan.
- Using crunchy peanut butter: This alters the texture, making cookies less smooth. Stick with creamy for best results.
Make-Ahead & Storage
You can prepare the cookie dough up to 24 hours in advance and store it tightly wrapped in the refrigerator. When ready, scoop and bake as directed. For longer storage, freeze the dough balls on a tray, then transfer to a freezer-safe container for up to 3 months. Bake straight from frozen, adding an extra minute or two to the baking time.
Store baked cookies in an airtight container at room temperature for up to 5 days. To keep them fresh longer, place a slice of bread in the container to maintain moisture. These cookies can also be frozen after baking; thaw at room temperature before serving.
Helpful Q&A
Can I use natural peanut butter instead of creamy?
Natural peanut butter tends to have a thinner consistency and can cause the dough to be a bit oily or less cohesive. For best results, stick to creamy peanut butter with a smooth texture and no added oils.
What if I don’t have cocoa powder? Can I omit it?
While cocoa powder adds a lovely chocolate depth, you can omit it if desired. The cookies will taste more like traditional peanut butter blossoms but still delicious. Consider adding an extra 1/4 cup of flour to help maintain structure if you skip the cocoa.
Do I have to use Hershey’s Kisses?
Not at all! Any small, unwrapped chocolate candy works beautifully. You can experiment with different flavors like peppermint or caramel-filled chocolates for a festive twist.
Can I make these cookies gluten-free?
This recipe does not contain any flour; instead, it uses peanut butter and cocoa powder for structure. So, these cookies are naturally gluten-free, but always check your ingredient labels to ensure no cross-contamination.
Because You Liked This
- Peanut Butter Stuffed Brownie Cookies – A fudgy, peanut butter surprise inside rich brownie cookies.
- Brown Butter Chocolate Chunk Cookies – Classic cookies with a nutty twist and melty chocolate chunks.
The Takeaway
Holiday Peanut Butter Blossoms are a must-bake treat for the festive season, combining creamy peanut butter and rich chocolate in every bite. This recipe’s ease, delightful texture, and classic holiday charm make it a standout addition to any cookie lineup. Whether you’re baking to share or savoring with a warm cup of cocoa, these cookies bring smiles and sweet memories. With simple ingredients and straightforward steps, they’re sure to become a beloved holiday tradition that you’ll return to year after year.
Give these cookies a try, and don’t forget to explore more peanut butter-infused delights to keep your holiday baking exciting and delicious!
Share on Pinterest

Holiday Peanut Butter Blossoms
Ingredients
- 1 cup creamy peanut butter star ingredient providing a creamy, nutty base
- 1 cup granulated sugar sweetens and helps cookies crisp slightly on edges
- 1 cup packed brown sugar adds moisture and deep caramel flavor
- 1 cup unsweetened cocoa powder gives rich chocolate undertone without overpowering peanut butter
- 2 large eggs bind ingredients and help create chewy texture
- 1 teaspoon baking soda leavening agent that makes cookies rise just enough
- 1 teaspoon vanilla extract enhances flavors with warm, fragrant note
- 1/4 teaspoon salt balances sweetness and brings out peanut butter’s richness
- 1 cup chocolate candies (like Hershey's Kisses), unwrapped
Instructions
Holiday Peanut Butter Blossoms in Steps
- Preheat your oven to 350°F (175°C). Line a baking sheet with parchment paper or a silicone baking mat to prevent sticking.
- In a large mixing bowl, combine the creamy peanut butter, granulated sugar, and brown sugar. Blend with an electric mixer or sturdy spoon until smooth and creamy. Beat in the eggs one at a time, then add the vanilla extract and mix well.
- Sift together the unsweetened cocoa powder, baking soda, and salt. Gradually add these dry ingredients to the peanut butter mixture, stirring until the dough is uniform in color and texture.
- Use a spoon or cookie scoop to form dough balls about 1 inch in diameter. Place them evenly spaced on the prepared baking sheet, allowing room for spreading.
- Bake cookies for 8–10 minutes until edges are set but centers remain soft. Remove baking sheet from oven and immediately press an unwrapped chocolate candy into the center of each cookie.
- Allow cookies to cool on the baking sheet for about 5 minutes, then transfer to a cooling rack to cool completely before serving.
Equipment
- Mixing bowl
- Measuring cups and spoons
- Electric mixer or sturdy spoon
- Baking Sheet
- Parchment paper or silicone baking mat
- Cooling rack
- Spoon or cookie scoop
Notes
- For a vegan version, substitute eggs with flax eggs and use dairy-free chocolate candies.
- Do not overbake; cookies should have set edges but soft centers for the perfect chewy texture.
- Press chocolate candies into cookies immediately after baking for a melty center.
- Store dough refrigerated up to 24 hours or freeze dough balls for up to 3 months for easy baking later.
- Keep baked cookies fresh up to 5 days at room temperature using an airtight container with a slice of bread to maintain moisture.