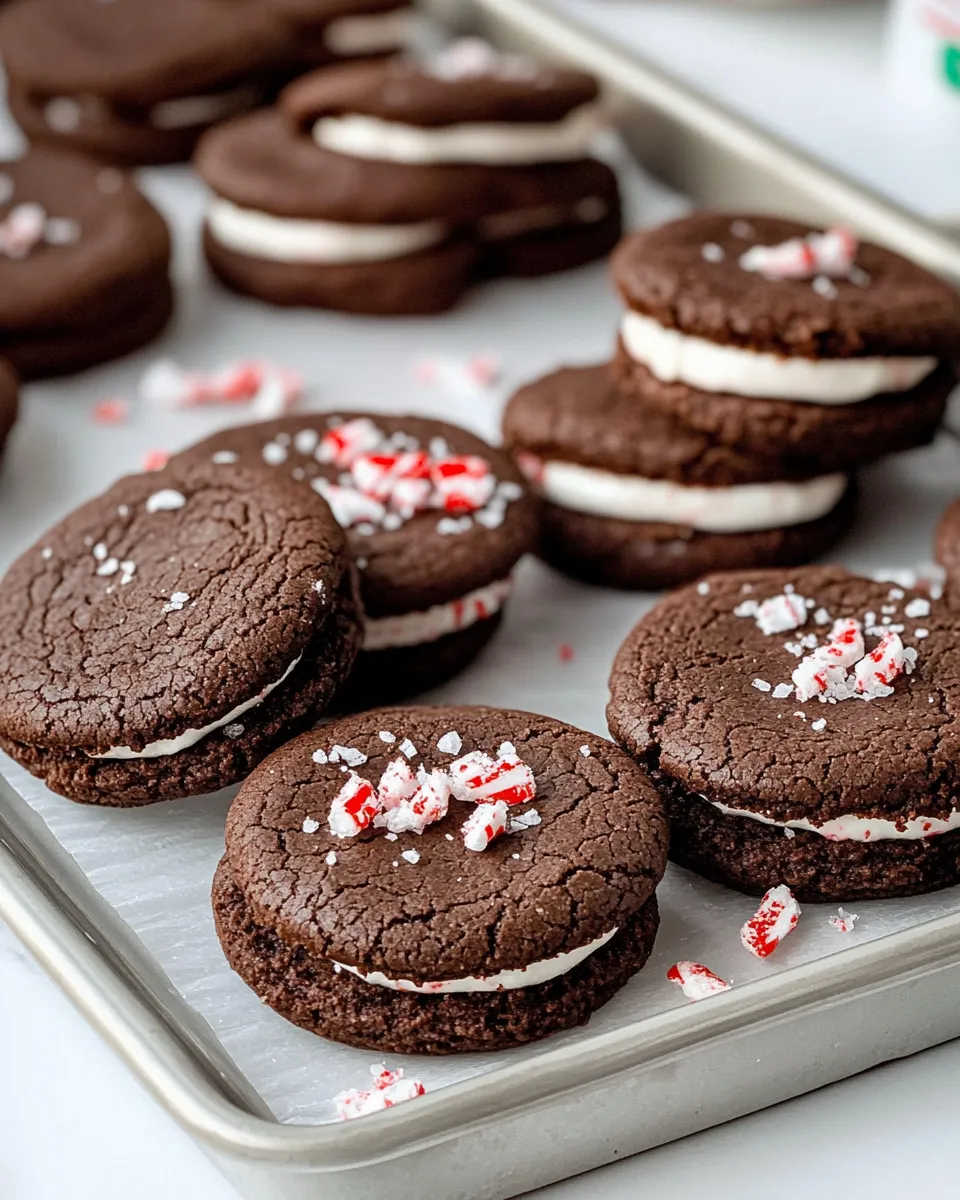
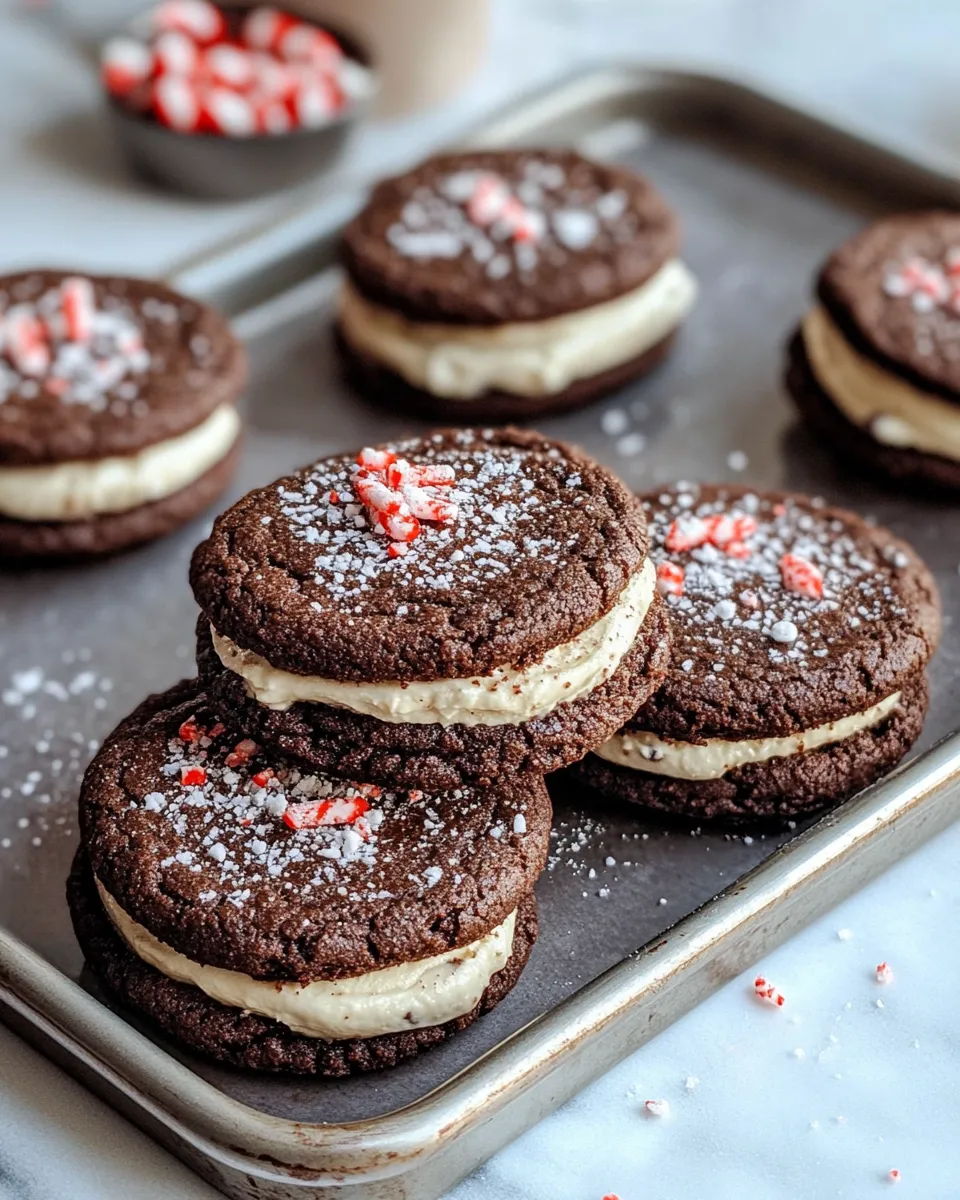
If you’re dreaming of festive treats that perfectly balance rich chocolate and refreshing peppermint, Chocolate Peppermint Sandwich Cookies are exactly what you need. These delightful cookies combine a tender cocoa-infused biscuit with a creamy, minty filling, all topped with a sprinkle of crushed peppermint candies for that perfect holiday crunch. Whether you’re baking for a special occasion or simply craving a sweet seasonal indulgence, this recipe is sure to become a favorite in your kitchen.
Why Chocolate Peppermint Sandwich Cookies is Worth Your Time

Chocolate Peppermint Sandwich Cookies are not just any cookie—they are a celebration of flavors and textures that come together beautifully. The cocoa in the cookie dough gives a deep, rich base, while the peppermint filling adds a refreshing brightness that cuts through the sweetness. These cookies are ideal for gifting, holiday parties, or just cozy nights at home with a cup of hot cocoa. Plus, they’re simple enough to make with everyday ingredients, yet impressive enough to wow your friends and family. The sandwich design also makes them portable and mess-free, perfect for lunchboxes or cookie exchanges.
Your Shopping Guide
- All-purpose flour – The foundation of the cookies, providing structure and tenderness.
- Unsweetened cocoa powder – Choose a good-quality cocoa powder for that deep chocolate flavor in both the cookie and filling.
- Baking soda – Helps the cookies rise just enough to be soft but sturdy.
- Salt – Enhances the chocolate flavor and balances the sweetness.
- Unsalted butter – Softened for easy mixing; adds richness and a tender crumb.
- Granulated sugar – Sweetens the cookie dough and contributes to a slight crunch.
- Brown sugar – Adds moisture and a hint of caramel flavor.
- Vanilla extract – Boosts the overall flavor and rounds out the chocolate notes.
- Large egg – Binds the ingredients together and adds moisture.
- Powdered sugar – For the silky smooth filling.
- Peppermint extract – The star flavor of the filling; just enough to give the cookies a refreshing kick.
- Milk – Adjusts the filling consistency for easy spreading.
- Crushed peppermint candies – For garnish and an extra peppermint crunch.
Cook’s Kit
- Mixing bowls – For combining wet and dry ingredients separately.
- Electric mixer – Makes creaming butter and sugar effortless.
- Sifter – To sift the cocoa powder and flour for a smooth dough.
- Baking sheets – For baking the cookies evenly.
- Parchment paper or silicone mats – Prevents sticking and simplifies cleanup.
- Cooling racks – Allows cookies to cool completely before filling.
- Small mixing bowl and spatula – For making and spreading the peppermint filling.
- Rolling pin or cookie scoop – To shape your cookies uniformly.
Mastering Chocolate Peppermint Sandwich Cookies: How-To
Step 1: Prepare the Dry Ingredients
In a medium bowl, sift together 1 3/4 cups all-purpose flour, 1/2 cup unsweetened cocoa powder, 1/2 teaspoon baking soda, and 1/2 teaspoon salt. Set aside. Sifting ensures no lumps and a well-mixed base for your cookie dough.
Step 2: Cream the Butter and Sugars
Using an electric mixer, beat 1 cup softened unsalted butter with 1 cup granulated sugar and 1/2 cup packed brown sugar until light and fluffy, about 3-4 minutes. This step is crucial for a tender, melt-in-your-mouth cookie.
Step 3: Add the Egg and Vanilla
Add 1 teaspoon vanilla extract and 1 large egg to the creamed butter and sugar. Beat until fully incorporated and smooth.
Step 4: Combine Wet and Dry Ingredients
Gradually add the dry ingredients to the wet mixture, mixing on low speed until just combined. Be careful not to overmix, or the cookies might become tough.
Step 5: Chill the Dough
Wrap the dough in plastic wrap and refrigerate for at least 1 hour. Chilling firms up the dough, making it easier to roll and shape, and helps prevent spreading during baking.
Step 6: Shape and Bake the Cookies
Preheat your oven to 350°F (175°C). Line baking sheets with parchment paper. Roll the dough into small balls or use a cookie scoop, then flatten slightly. Place the cookies a couple of inches apart. Bake for 10-12 minutes until the edges are set but the centers remain soft. Transfer to cooling racks and cool completely.
Step 7: Make the Peppermint Filling
In a small bowl, beat together 1 cup powdered sugar, 1/4 cup unsweetened cocoa powder, 1/2 teaspoon peppermint extract, and 1 tablespoon milk. Add more milk a little at a time if needed until the filling is spreadable but not runny.
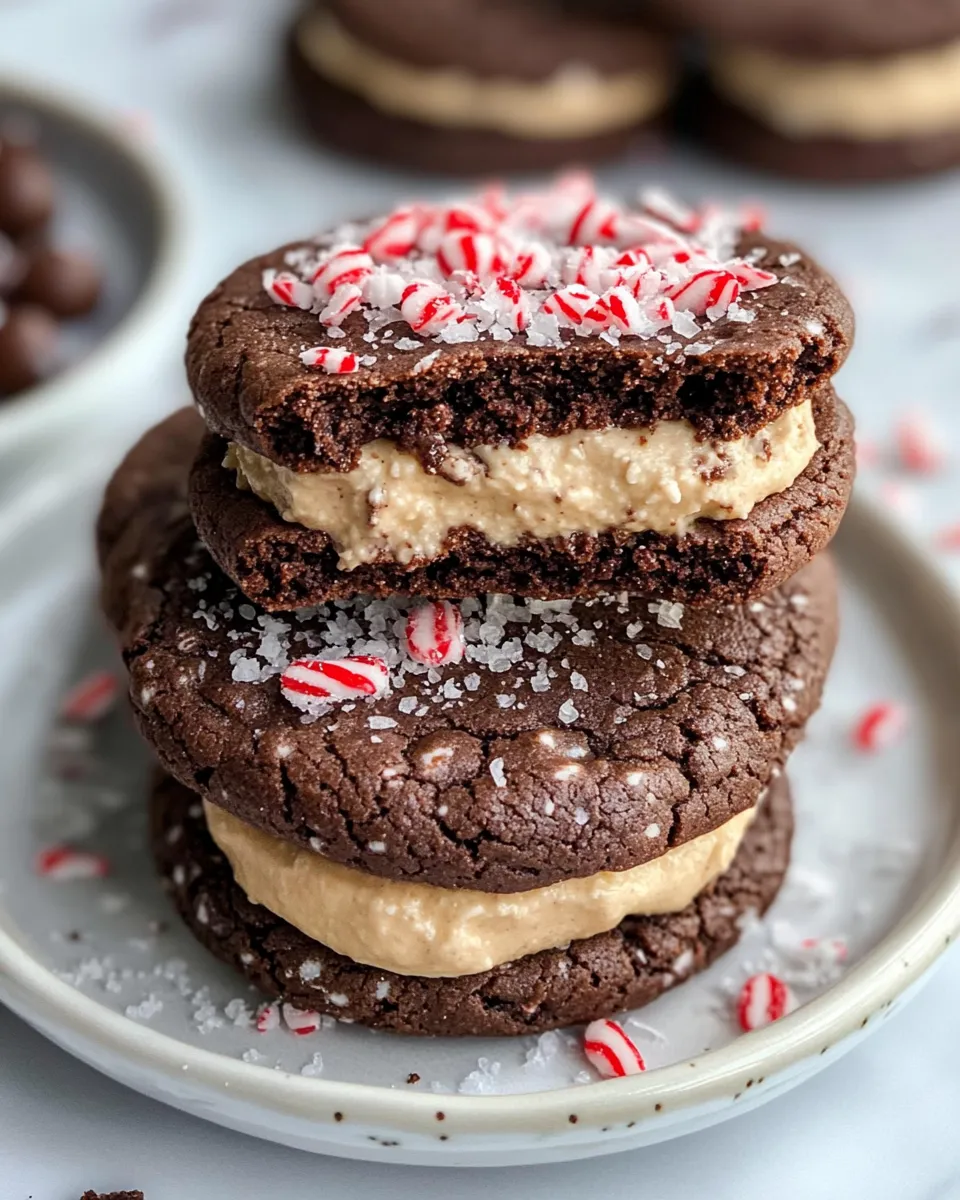
Step 8: Assemble the Sandwich Cookies
Spread a generous dollop of the peppermint filling on the flat side of one cookie, then sandwich with another cookie. Press gently to spread the filling to the edges.
Step 9: Garnish with Crushed Peppermint
Sprinkle crushed peppermint candies on the filling edges for an extra festive touch and delightful crunch.
Spring to Winter: Ideas
- Serve these Peppermint Mocha Cupcakes alongside for a peppermint-themed dessert table.
- Use the cookie dough as a base to create a festive Chocolate Peppermint Bark Brownies by layering brownie batter on top.
- Customize the filling with different extracts like almond or orange for a unique twist.
- Package these cookies in holiday tins or cellophane bags for thoughtful gifts.
- Pair with a warm mug of peppermint hot chocolate or coffee for cozy evenings.
Mistakes That Ruin Chocolate Peppermint Sandwich Cookies
- Skipping the chill: Not chilling the dough can cause the cookies to spread too much, losing their shape.
- Overmixing the dough: This develops gluten, resulting in tough, dense cookies instead of tender ones.
- Filling consistency too thin or thick: Too runny and it will ooze out; too thick and it won’t spread easily.
- Using too much peppermint extract: It can overpower the chocolate and become unpleasantly strong.
- Not cooling cookies completely: Warm cookies will melt the filling and cause a mess.
Save It for Later
You can store these Chocolate Peppermint Sandwich Cookies in an airtight container at room temperature for up to a week. For longer storage, freeze the cookies (without filling) in a single layer on a baking sheet, then transfer to a freezer-safe bag. When ready to enjoy, thaw completely, prepare the peppermint filling, and assemble fresh sandwiches. This method preserves the cookie’s texture and freshness beautifully.
Ask the Chef
Can I substitute the butter with margarine or oil?
Butter provides flavor and texture that margarine or oil can’t fully replicate. While margarine can be used in a pinch, avoid oils as they make the dough too soft and greasy. For best results, stick to unsalted butter.
How do I make sure the peppermint flavor isn’t too overpowering?
Start with 1/2 teaspoon peppermint extract in the filling and taste. If you want more, add in small increments. Peppermint extract is potent, so less is often more to keep the balance with chocolate.
Can I make these cookies gluten-free?
Yes! Replace all-purpose flour with a gluten-free flour blend that includes xanthan gum. Be aware the texture might be slightly different, but the flavor will still shine.
What’s the best way to crush peppermint candies for garnish?
Place the candies in a sealed plastic bag and gently tap with a rolling pin or the bottom of a heavy pan. Avoid pulverizing them into powder; you want small crunchy pieces that add texture and visual appeal.
What to Make After This
- Try your hand at classic favorites like Classic Chocolate Chip Cookies for a timeless treat.
- Whip up festive Peppermint Mocha Cupcakes to keep the holiday spirit going.
- For a fudgy twist, bake Chocolate Peppermint Bark Brownies packed with bits of peppermint candy.
In Closing
Chocolate Peppermint Sandwich Cookies bring the best of two worlds—the richness of chocolate and the crisp, cool finish of peppermint—into a perfectly portable, shareable treat. Their simple ingredients and straightforward method make them a go-to recipe for bakers of all skill levels. Whether you’re baking for a crowd or just treating yourself, these cookies deliver festive flavor and satisfying texture in every bite.
From the soft, chocolatey cookie layers to the creamy, minty filling garnished with crunchy peppermint, this recipe embodies seasonal joy. Don’t forget to explore other delightful recipes to complement these cookies and create a festive spread that’ll impress everyone gathered around your table. Happy baking!
Share on Pinterest
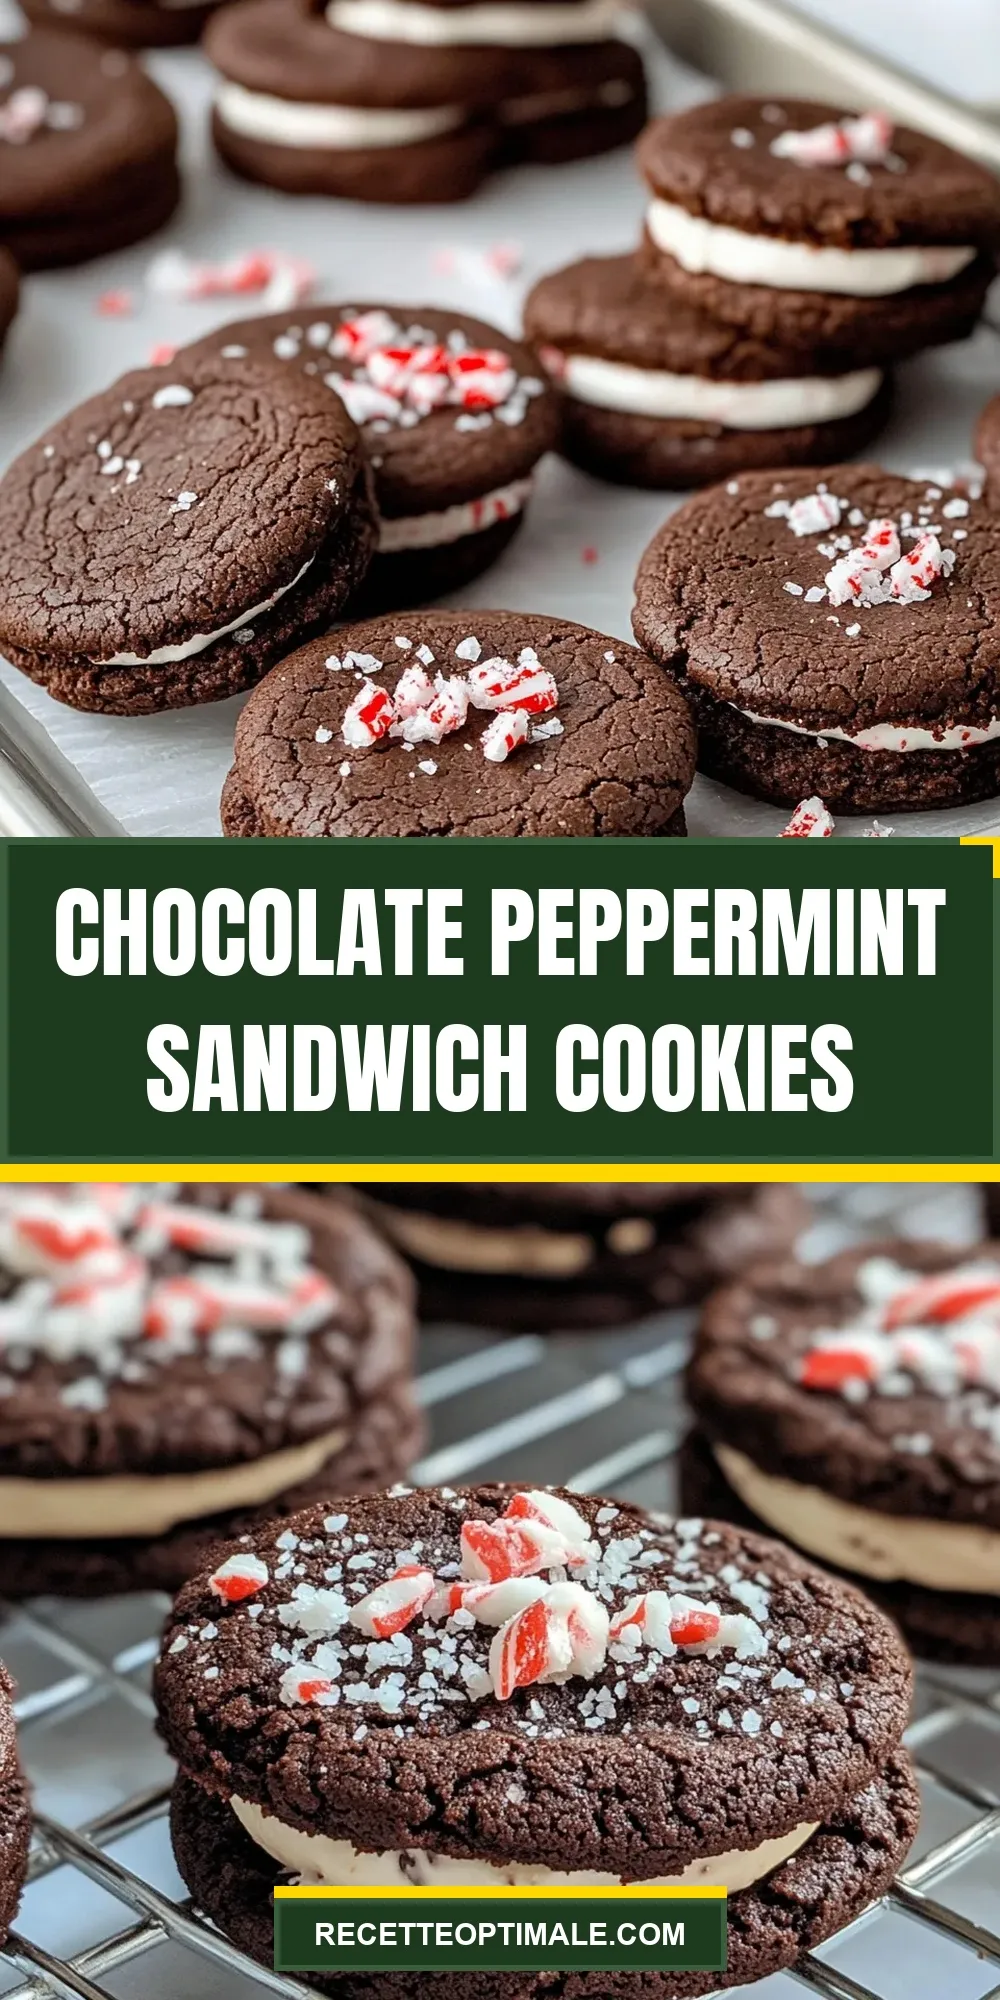

Chocolate Peppermint Sandwich Cookies
Ingredients
For the Cookies
- 1 3/4 cups all-purpose flour
- 1/2 cup unsweetened cocoa powder
- 1/2 teaspoon baking soda
- 1/2 teaspoon salt
- 1 cup unsalted butter softened
- 1 cup granulated sugar
- 1/2 cup brown sugar packed
- 1 teaspoon vanilla extract
- 1 large egg
For the Peppermint Filling
- 1 cup powdered sugar
- 1/4 cup unsweetened cocoa powder
- 1/2 teaspoon peppermint extract
- 1 tablespoon milk add more if needed for spreadable consistency
For Garnish
- crushed peppermint candies for garnish and crunch
Instructions
Prepare the Cookies
- In a medium bowl, sift together 1 3/4 cups all-purpose flour, 1/2 cup unsweetened cocoa powder, 1/2 teaspoon baking soda, and 1/2 teaspoon salt.
- Using an electric mixer, beat 1 cup softened unsalted butter with 1 cup granulated sugar and 1/2 cup packed brown sugar until light and fluffy, about 3-4 minutes.
- Add 1 teaspoon vanilla extract and 1 large egg to the creamed butter and sugar. Beat until fully incorporated and smooth.
- Gradually add the dry ingredients to the wet mixture, mixing on low speed until just combined. Avoid overmixing.
- Wrap the dough in plastic wrap and refrigerate for at least 1 hour.
- Preheat oven to 350°F (175°C). Line baking sheets with parchment paper. Roll dough into small balls or use a cookie scoop, then flatten slightly. Place cookies 2 inches apart.
- Bake for 10-12 minutes until edges are set but centers remain soft. Transfer to cooling racks and cool completely.
Make the Peppermint Filling and Assemble
- In a small bowl, beat together 1 cup powdered sugar, 1/4 cup unsweetened cocoa powder, 1/2 teaspoon peppermint extract, and 1 tablespoon milk. Add more milk if needed until spreadable.
- Spread a generous dollop of peppermint filling on the flat side of one cookie, then sandwich with another cookie. Press gently to spread filling to edges.
- Sprinkle crushed peppermint candies on the filling edges for an extra festive touch and crunch.
Equipment
- Mixing bowls
- Electric mixer
- Sifter
- Baking sheets
- Parchment Paper or Silicone Mats
- Cooling racks
- Small mixing bowl and spatula
- Rolling pin or cookie scoop
Notes
- Chill the dough well to prevent cookies from spreading too much during baking.
- Avoid overmixing the dough to keep cookies tender and soft.
- Adjust peppermint extract carefully to avoid overpowering the chocolate flavor.
- Store cookies in an airtight container at room temperature for up to a week or freeze unfilled cookies for longer storage.