
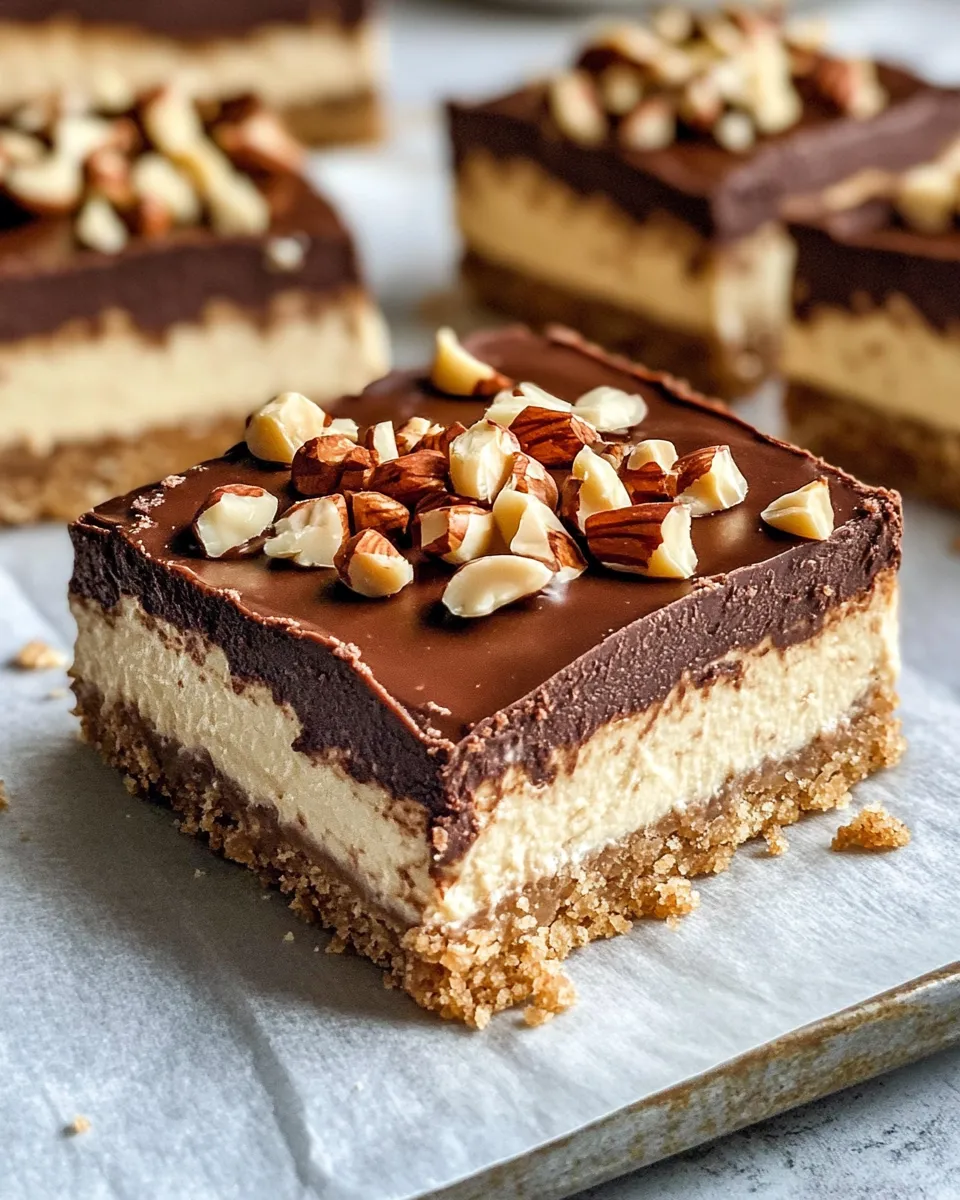
Indulgent, creamy, and perfectly balanced, these Chocolate Hazelnut Cheesecake Bars are the dessert upgrade you’ve been craving. Imagine a buttery graham cracker crust paired with a luscious cheesecake filling swirled generously with rich chocolate hazelnut spread and topped with a sprinkle of crunchy hazelnuts. Whether you’re serving them for a special occasion or just because, these bars are guaranteed to be a crowd-pleaser. They’re simple to make, require no fancy equipment, and deliver big on flavor. Get ready to dive into a slice of chocolate-hazelnut heaven!
The Upside of Chocolate Hazelnut Cheesecake Bars
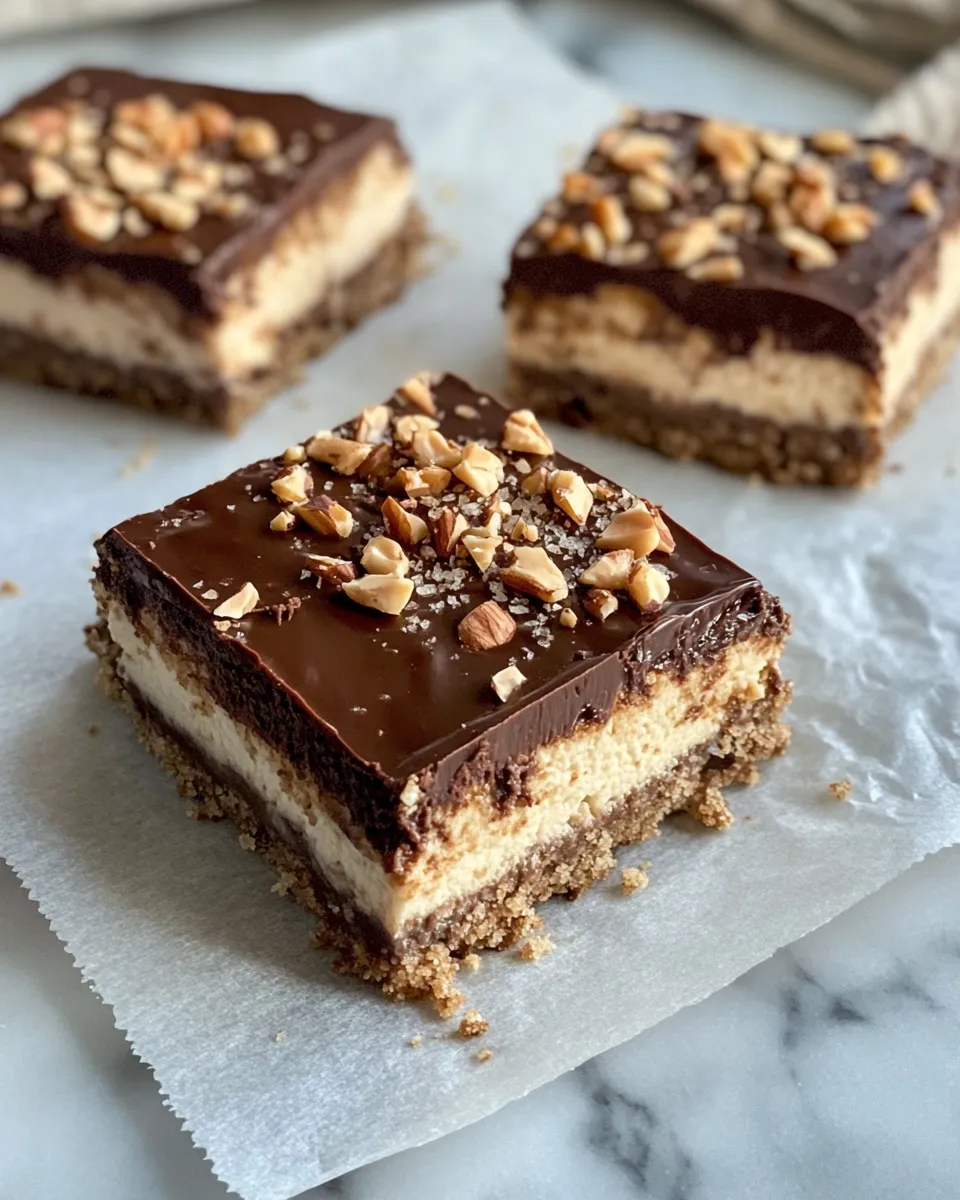
These cheesecake bars combine the best of both worlds: the smooth texture of cheesecake and the irresistible, nutty sweetness of chocolate hazelnut spread. Unlike a traditional cheesecake, these bars are easier to slice and serve, making them perfect for potlucks, picnics, or anytime you want a fuss-free dessert. The crust is crisp but tender, providing a delightful contrast to the creamy filling. Plus, the chopped hazelnuts on top add a satisfying crunch and elevate the presentation. They’re rich without being overwhelming, and the balance of flavors means every bite is pure bliss.
Ingredient Rundown
- 1 1/2 cups graham cracker crumbs – The base for our crust, providing a slightly sweet, buttery foundation.
- 1/2 cup unsalted butter, melted – Binds the crust together and adds richness.
- 1/4 cup granulated sugar – Sweetens the crust just enough without overpowering.
- 16 oz cream cheese, softened – The star of the filling, for that creamy, tangy cheesecake texture.
- 1 cup powdered sugar – Smoothly sweetens the cheesecake filling.
- 1 cup chocolate hazelnut spread – Adds that iconic nutty chocolate flavor throughout the bars.
- 2 large eggs – Helps the filling set and adds structure.
- 1 teaspoon vanilla extract – Enhances all the flavors with a warm, aromatic note.
- 1/4 cup chopped hazelnuts, for topping – Adds texture and a beautiful finishing touch.
Equipment Breakdown
- 8×8-inch baking pan – Ideal size for these cheesecake bars, ensuring they bake evenly.
- Mixing bowls – At least two: one for the crust and one for the filling.
- Electric mixer or hand mixer – Makes blending the cream cheese filling smooth and lump-free.
- Rubber spatula – For scraping down the sides of the bowl and spreading batter evenly.
- Measuring cups and spoons – Accuracy is key in baking.
- Knife and chopping board – For chopping hazelnuts finely.
Chocolate Hazelnut Cheesecake Bars Cooking Guide
Step 1: Prepare the Crust
Preheat your oven to 350°F (175°C). In a medium bowl, combine the graham cracker crumbs, melted butter, and granulated sugar. Stir until the mixture resembles wet sand. Press this mixture firmly into the bottom of your 8×8-inch baking pan, creating an even layer. Bake for 8-10 minutes until the crust is set and lightly golden. Remove from the oven and allow it to cool slightly while you prepare the filling.
Step 2: Make the Cheesecake Filling
In a large mixing bowl, beat the softened cream cheese on medium speed until smooth and creamy, about 2-3 minutes. Gradually add the powdered sugar and continue beating until fully incorporated. Add the eggs one at a time, mixing well after each addition. Stir in the vanilla extract. Finally, fold in the chocolate hazelnut spread gently until swirled but not completely blended—this creates beautiful ribbons of chocolate hazelnut flavor throughout the cheesecake.
Step 3: Assemble and Bake
Pour the cheesecake batter over the pre-baked crust and smooth the top with your spatula. Sprinkle the chopped hazelnuts evenly over the surface. Bake for 35-40 minutes, or until the edges are set and the center is slightly jiggly but not liquid. Turn off the oven and leave the bars inside with the door slightly ajar for 10 minutes to prevent cracking.
Step 4: Cool and Chill
Remove the bars from the oven and let them cool completely at room temperature. Once cooled, place the pan in the refrigerator for at least 4 hours or overnight to allow the cheesecake to firm up perfectly. When ready, cut into bars and serve chilled.
Seasonal Twists

- Fall Flavor: Add 1/2 teaspoon of ground cinnamon and a pinch of nutmeg to the crust for cozy autumn vibes.
- Winter Holiday: Sprinkle crushed peppermint candies on top before baking for a festive crunch.
- Spring Fresh: Swirl in some raspberry jam with the chocolate hazelnut spread for a fruity contrast.
- Summer Delight: Top with fresh strawberries or a drizzle of caramel sauce just before serving.
Notes from the Test Kitchen
- Make sure the cream cheese is fully softened to avoid lumps in the batter.
- Don’t overmix the filling once you add the eggs to prevent cracking during baking.
- The chocolate hazelnut spread can be gently warmed if it’s too thick, making it easier to swirl.
- Use parchment paper to line your baking pan for easier removal and cleaner slicing.
- Chilling the bars overnight dramatically improves their texture and flavor melding.
Storage Pro Tips
Store your Chocolate Hazelnut Cheesecake Bars in an airtight container in the refrigerator. They will keep fresh for up to 5 days. For longer storage, wrap individual bars tightly in plastic wrap and freeze for up to 3 months. Thaw in the refrigerator overnight before serving. Avoid leaving the bars at room temperature for extended periods to maintain their creamy texture and prevent spoilage.
Chocolate Hazelnut Cheesecake Bars Q&A
Can I use a different type of crust?
Absolutely! While graham cracker crust is classic, you can also use crushed digestive biscuits, chocolate wafer cookies, or even finely chopped nuts mixed with butter for a gluten-free option.
Is it possible to make these bars without eggs?
Yes, you can substitute eggs with a commercial egg replacer or use unsweetened applesauce (about 1/4 cup per egg) to maintain moisture and structure, though the texture will be slightly different.
Can I make these bars ahead of time?
Definitely! These bars taste even better the next day as the flavors have more time to develop. Just keep them refrigerated in an airtight container until you’re ready to serve.
How do I prevent cracks in the cheesecake filling?
To minimize cracking, avoid overmixing after adding the eggs, bake at a consistent temperature, and try the oven-door-ajar trick after baking to cool the bars gradually.
One Pan, More Ideas
- One Pan Chicken and Vegetables – A perfect savory complement to your sweet dessert.
- One-Pan Creamy Garlic Parmesan Pasta – Quick, comforting, and easy cleanup.
- One-Pan Roasted Veggies – Healthy and colorful side dish for any meal.
- One Pan Shrimp Fajitas – Flavorful and fast for busy nights.
Hungry for More?
If you loved these Chocolate Hazelnut Cheesecake Bars, you might also enjoy exploring other no-fuss desserts like classic brownies, lemon bars, or even a silky panna cotta. For more dessert inspiration, check out recipes that combine nuts and chocolate or easy cheesecakes that don’t require a water bath. Baking is all about experimenting and delighting your taste buds, so don’t hesitate to customize with your favorite flavors.
These Chocolate Hazelnut Cheesecake Bars are a luscious treat that brings the perfect harmony of creamy cheesecake and nutty chocolate spread to your table. Their ease of preparation and stunning flavor make them a go-to for both casual family nights and special celebrations. Whip up a batch, share with loved ones, and enjoy every decadent bite!
Share on Pinterest
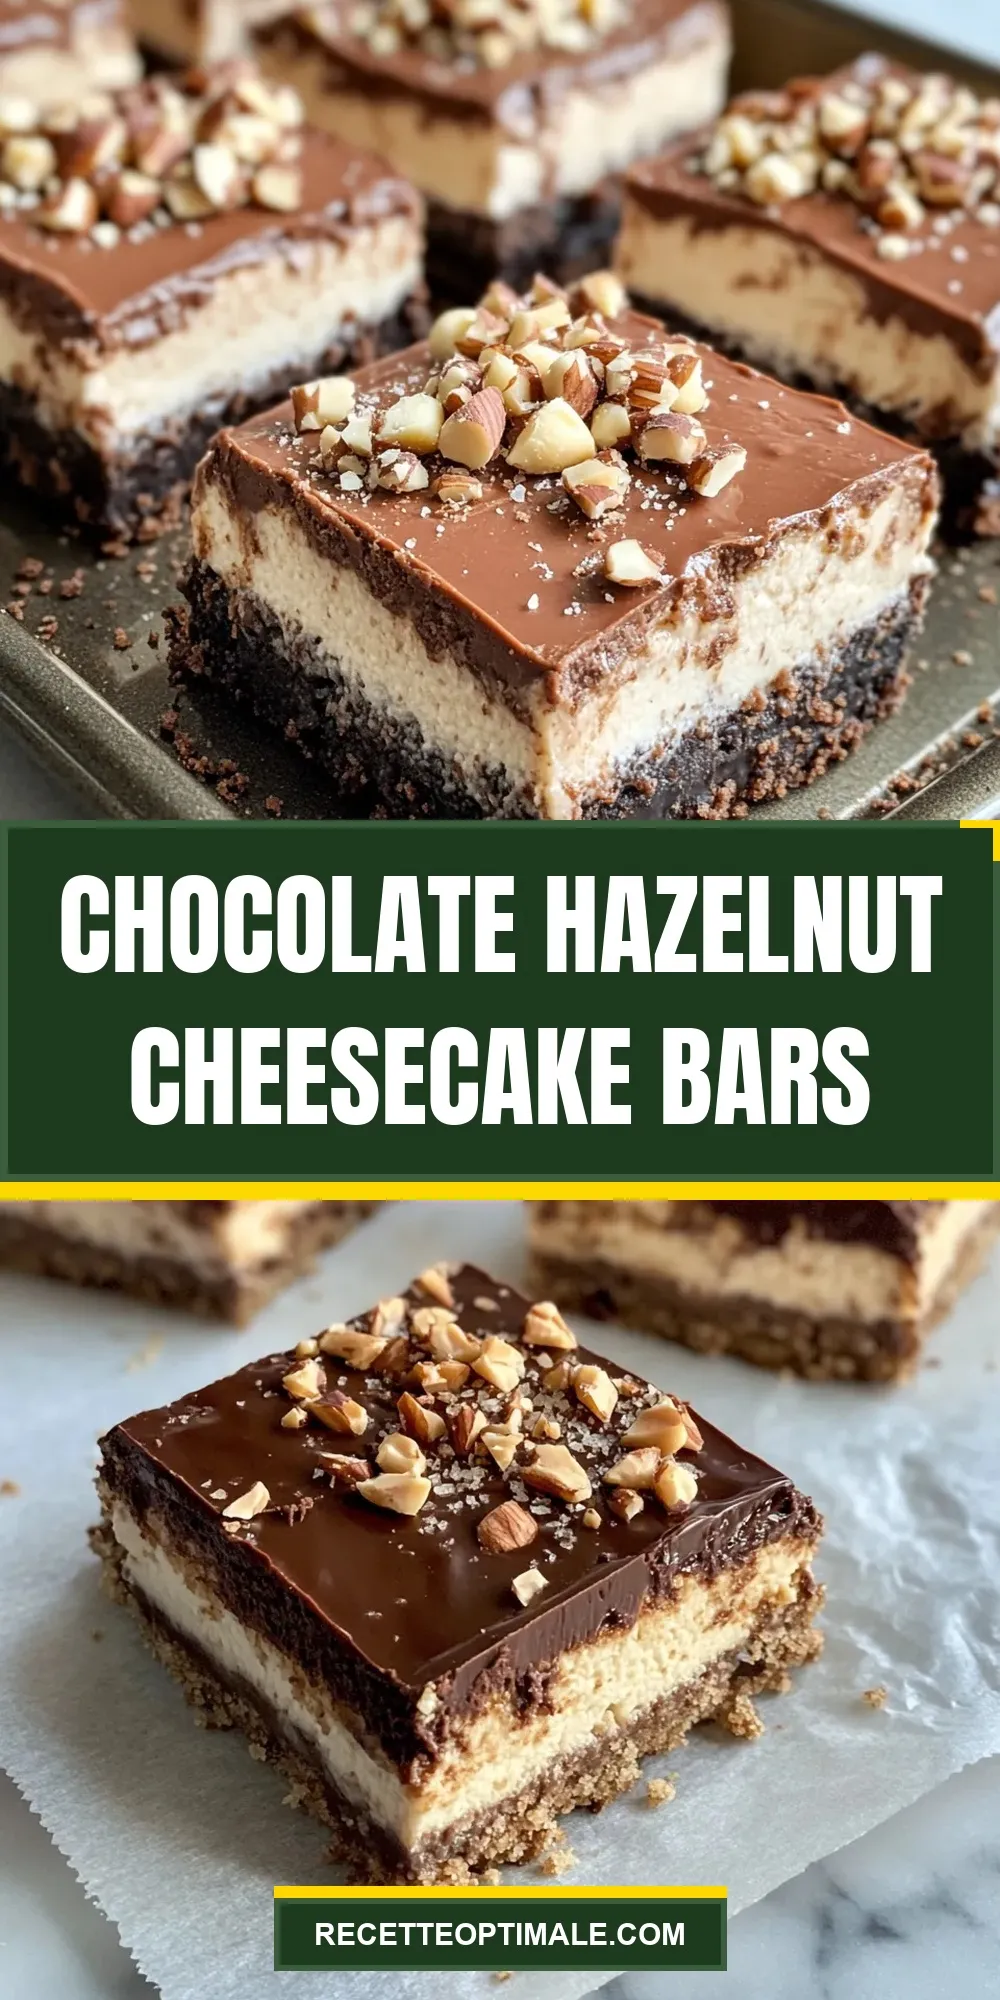
Chocolate Hazelnut Cheesecake Bars
Ingredients
For the Crust
- 1 1/2 cups graham cracker crumbs
- 1/2 cup unsalted butter melted
- 1/4 cup granulated sugar
For the Filling and Topping
- 16 oz cream cheese softened
- 1 cup powdered sugar
- 1 cup chocolate hazelnut spread
- 2 large eggs
- 1 teaspoon vanilla extract
- 1/4 cup chopped hazelnuts for topping
Instructions
Prepare the Crust
- Preheat your oven to 350°F (175°C). In a medium bowl, combine the graham cracker crumbs, melted butter, and granulated sugar. Stir until the mixture resembles wet sand.
- Press this mixture firmly into the bottom of your 8x8-inch baking pan, creating an even layer. Bake for 8-10 minutes until the crust is set and lightly golden.
- Remove from the oven and allow it to cool slightly while you prepare the filling.
Make the Cheesecake Filling
- In a large mixing bowl, beat the softened cream cheese on medium speed until smooth and creamy, about 2-3 minutes.
- Gradually add the powdered sugar and continue beating until fully incorporated.
- Add the eggs one at a time, mixing well after each addition. Stir in the vanilla extract.
- Finally, fold in the chocolate hazelnut spread gently until swirled but not completely blended, creating ribbons of flavor.
Assemble and Bake
- Pour the cheesecake batter over the pre-baked crust and smooth the top with your spatula.
- Sprinkle the chopped hazelnuts evenly over the surface.
- Bake for 35-40 minutes, or until the edges are set and the center is slightly jiggly but not liquid.
- Turn off the oven and leave the bars inside with the door slightly ajar for 10 minutes to prevent cracking.
Cool and Chill
- Remove the bars from the oven and let them cool completely at room temperature.
- Once cooled, place the pan in the refrigerator for at least 4 hours or overnight to allow the cheesecake to firm up perfectly.
- When ready, cut into bars and serve chilled.
Equipment
- 8x8-inch baking pan
- Mixing bowls
- Electric mixer or hand mixer
- Rubber spatula
- Measuring cups and spoons
- Knife and chopping board
Notes
- Ensure cream cheese is fully softened to avoid lumps in the filling.
- Do not overmix after adding eggs to prevent cracking during baking.
- Gently warm chocolate hazelnut spread if it’s too thick for easier swirling.
- Line the baking pan with parchment paper for easier removal and cleaner slices.
- Chill bars overnight for best texture and flavor melding.