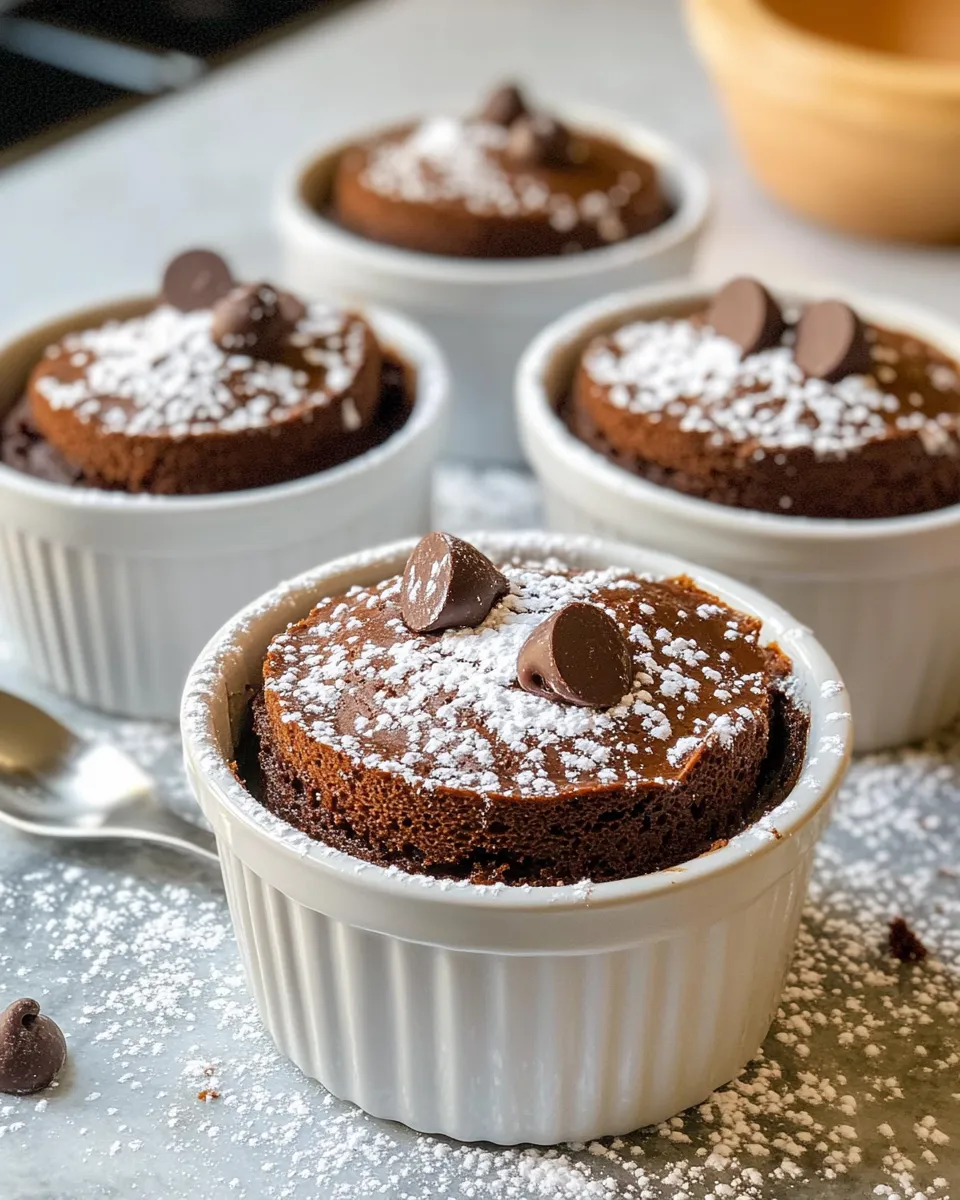
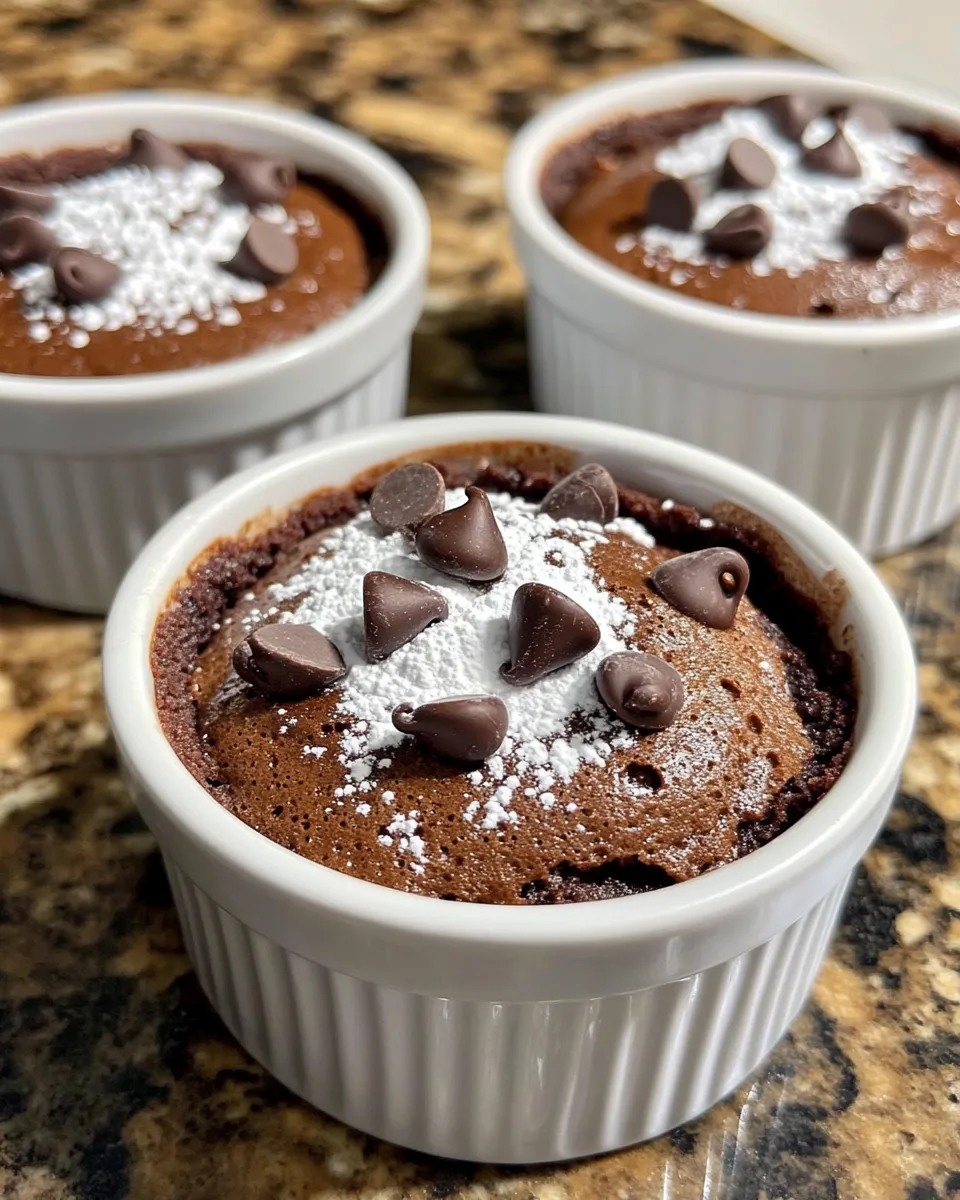
If you’re craving a warm, indulgent dessert that brings the cozy comfort of hot cocoa in every bite, these Hot Cocoa Lava Cakes are exactly what you need. Imagine a tender, rich cake with a molten, gooey center that oozes chocolate with every forkful. Made with simple pantry staples like unsweetened cocoa powder, flour, sugar, and eggs, these individual cakes come together quickly and deliver a decadent experience perfect for any occasion. Whether you’re winding down after a long day or impressing guests with a homemade treat, these Hot Cocoa Lava Cakes promise a luscious chocolate escape.
What You’ll Love About This Recipe
- Quick and Easy: Ready in under 30 minutes, these cakes are perfect for a last-minute dessert craving.
- Rich Chocolate Flavor: Using unsweetened cocoa powder and optional chocolate chips for filling, these cakes boast a deep, satisfying chocolate taste.
- Moist, Gooey Center: The lava cake’s signature molten core makes every bite irresistibly indulgent.
- Minimal Ingredients: Made with simple, everyday ingredients you likely already have in your kitchen.
- Perfectly Portion-Controlled: Individual cakes baked in ramekins make serving and presentation easy and elegant.
- Versatile: Customize with your favorite chocolate chips or toppings to suit your taste.
Your Shopping Guide
- Unsweetened Cocoa Powder (1/2 cup): Choose a high-quality cocoa powder for the best chocolate flavor. Dutch-processed cocoa will give a darker, smoother taste, while natural cocoa has a more acidic, robust flavor.
- All-Purpose Flour (1/2 cup): Provides structure to the cake. Make sure it’s fresh for optimal rise and texture.
- Granulated Sugar (1/2 cup): Sweetens the batter and helps create a tender crumb.
- Unsalted Butter (1/4 cup, melted): Adds richness and moisture. Butter should be melted but not hot when mixed in.
- Milk (1/4 cup): Whole milk is recommended for creaminess, but you can substitute with plant-based milk if desired.
- Large Eggs (2): Eggs provide structure and help create that lava texture.
- Vanilla Extract (1 teaspoon): Enhances the chocolate flavor with a warm, aromatic note.
- Baking Powder (1/2 teaspoon): Gives just the right lift to the cakes.
- Salt (pinch): Balances the sweetness and intensifies the chocolate.
- Chocolate Chips (optional): Use semi-sweet or dark chocolate chips for the molten center. Feel free to experiment with flavored chips like mint or caramel.
- Powdered Sugar: For dusting and adding a pretty finishing touch.
Equipment Breakdown
- Ramekins: Small oven-safe dishes to bake individual lava cakes. Typically 6-ounce size works well.
- Mixing Bowls: A large one for combining dry ingredients and another for wet ingredients.
- Whisk or Electric Mixer: To blend ingredients thoroughly and incorporate air.
- Measuring Cups & Spoons: For precise ingredient measurements.
- Spatula: Handy for folding and scraping batter.
- Oven: Preheated to ensure even baking and that molten center.
The Method for Hot Cocoa Lava Cakes
Step 1: Preheat and Prepare Your Ramekins
Preheat your oven to 350°F (175°C). Grease four ramekins with butter or non-stick spray, and lightly dust with cocoa powder to prevent sticking. This helps the cakes release easily once baked.
Step 2: Mix the Dry Ingredients
In a large bowl, sift together 1/2 cup unsweetened cocoa powder, 1/2 cup all-purpose flour, 1/2 cup granulated sugar, 1/2 teaspoon baking powder, and a pinch of salt. Sifting ensures there are no lumps and the ingredients are well combined.
Step 3: Combine the Wet Ingredients
In a separate bowl, whisk together 2 large eggs, 1/4 cup melted unsalted butter (make sure it’s cooled slightly), 1/4 cup milk, and 1 teaspoon vanilla extract until smooth and frothy.
Step 4: Bring Wet and Dry Together
Gradually add the wet mixture to the dry ingredients, stirring gently with a spatula or whisk until just combined. Avoid overmixing to keep the cakes tender and light.
Step 5: Fill the Ramekins
Divide the batter evenly among the prepared ramekins. If you want an extra indulgent molten center, press a few chocolate chips into the middle of each cake. They will melt and create that signature lava flow.
Step 6: Bake
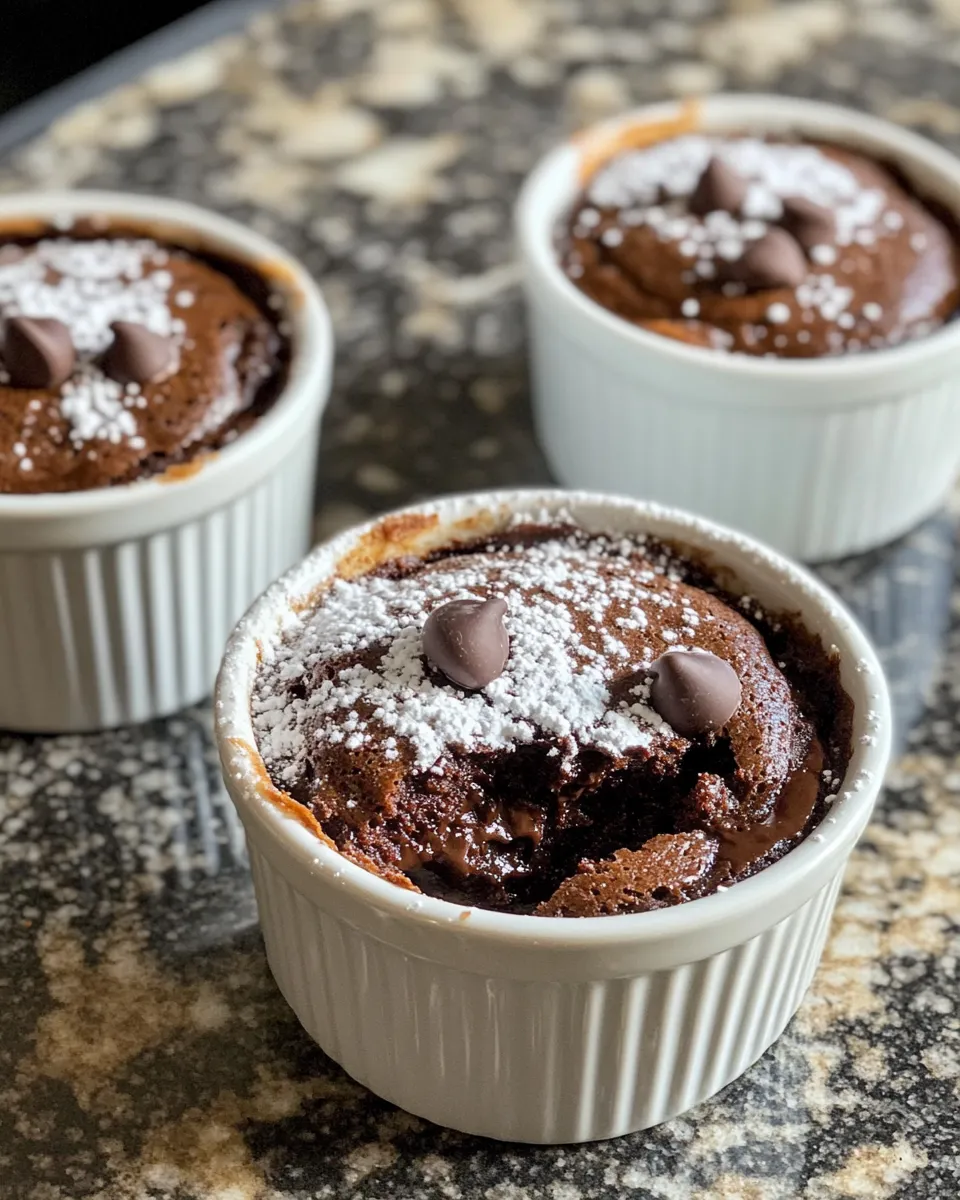
Place the ramekins on a baking sheet and bake in the preheated oven for 12-15 minutes. The edges should be set, but the center will look slightly soft and jiggly. This is the key to a perfect lava cake.
Step 7: Serve
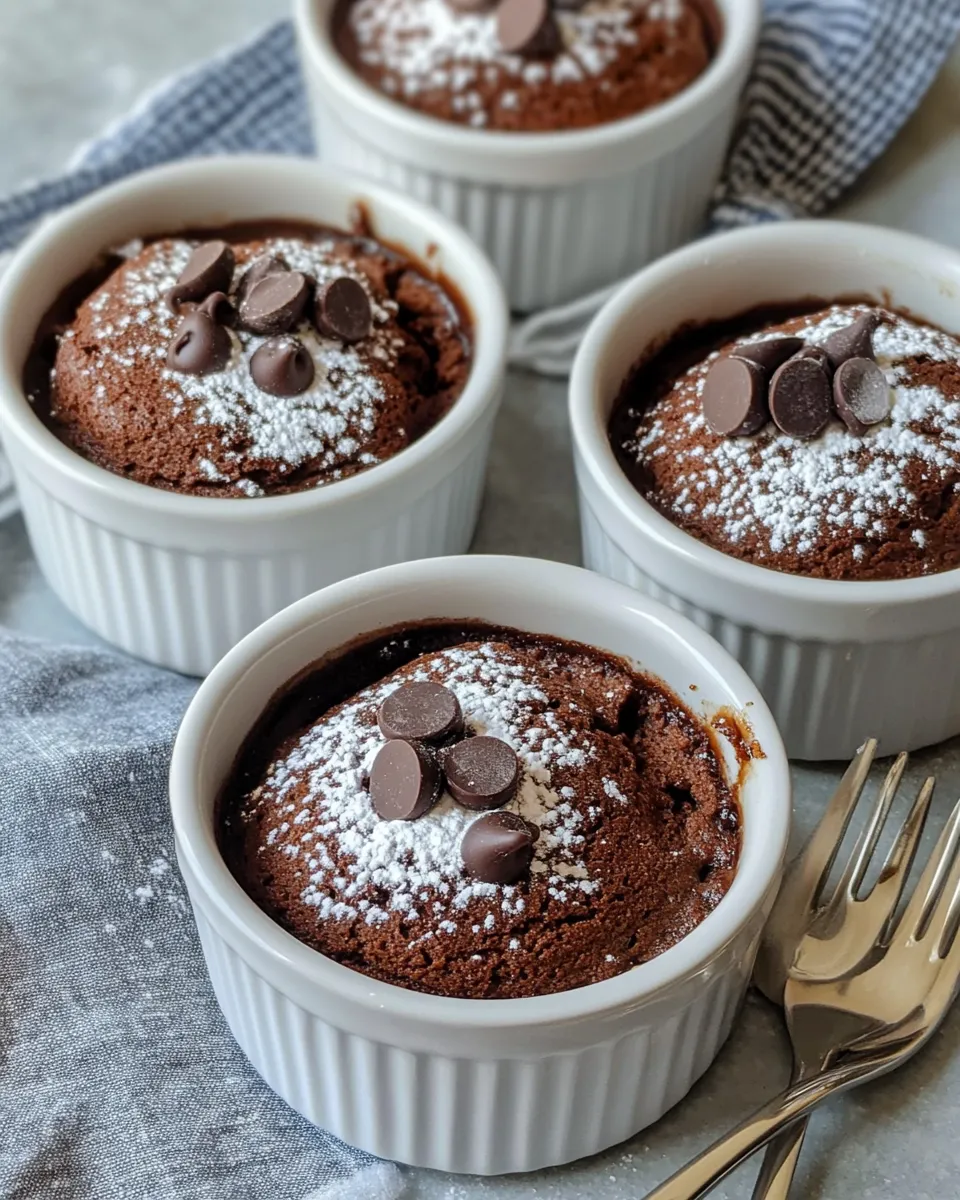
Let the cakes cool for 2-3 minutes before carefully running a knife around the edges. Invert each ramekin onto a plate and gently lift it off. Dust with powdered sugar for a beautiful finish. Serve immediately to enjoy the warm, molten chocolate center.
Adaptations for Special Diets
- Dairy-Free: Replace butter with coconut oil or a plant-based margarine, and use almond, soy, or oat milk instead of dairy milk.
- Gluten-Free: Substitute all-purpose flour with a gluten-free flour blend designed for baking. Make sure it contains xanthan gum for structure.
- Lower Sugar: Use a sugar substitute that measures like sugar, such as erythritol or monk fruit sweetener.
- Vegan: Use flax eggs (1 tablespoon ground flaxseed + 3 tablespoons water per egg), plant-based milk, and dairy-free butter alternatives.
Chef’s Notes
- For the best molten center, watch the bake time closely. Overbaking will result in a fully cooked cake without the lava flow.
- Use high-quality cocoa powder and chocolate chips to deepen the chocolate flavor.
- If you want to try a twist, experiment with adding a teaspoon of instant espresso powder to the batter for a mocha kick, inspired by popular Chocolate Espresso Lava Cakes.
- These cakes pair wonderfully with a scoop of vanilla ice cream or a dollop of whipped cream.
- For a fun variation, try layering the batter with melted chocolate or add a spoonful of marshmallow fluff inside before baking.
Shelf Life & Storage
Freshly baked Hot Cocoa Lava Cakes are best enjoyed immediately to experience the molten middle. However, if you have leftovers:
- Store cakes in airtight containers in the refrigerator for up to 2 days.
- Reheat gently in a microwave for 20-30 seconds, but note that the lava center may set once cooled.
- For longer storage, bake the batter in ramekins, cool completely, cover, and freeze for up to 1 month. Thaw in the refrigerator overnight and warm briefly before serving.
Ask & Learn
Can I prepare the batter ahead of time?
Yes! You can mix the batter and keep it covered in the refrigerator for up to 24 hours. Give it a gentle stir before baking to recombine any separated ingredients.
What if I don’t have ramekins?
Small oven-safe cups or muffin tins can work as substitutes, but ramekins are ideal for even heat distribution and the classic presentation.
How do I know when the lava cakes are done?
The edges should look set and firm, while the center remains slightly soft or jiggly. Overbaking will cook the lava center fully, losing the signature molten texture.
Can I make these cakes gluten-free?
Absolutely! Use a gluten-free flour blend that’s designed for baking. Make sure it contains a binder like xanthan gum to maintain structure and texture.
Serve with These
- Hot Cocoa Cream Pie – For a complementary chocolate dessert experience.
- Vanilla ice cream – The cold creaminess balances the warm, rich cake.
- Fresh berries – Adds a tart contrast and freshness.
- Whipped cream – Light and fluffy topping to elevate each bite.
- Espresso or coffee – Perfect pairing to enhance the chocolate flavor.
Make It Tonight
Don’t wait for a special occasion to indulge in these Hot Cocoa Lava Cakes. With ingredients that are probably already in your kitchen, you can have a warm, gooey chocolate dessert on the table in less than 30 minutes. Whether you’re cozying up on a chilly evening or surprising family and friends, this recipe is a guaranteed crowd-pleaser. And if you love rich, molten chocolate desserts, be sure to check out the classic Chocolate Lava Cake recipe on our site for even more inspiration.
Get your ramekins ready, preheat the oven, and treat yourself to the ultimate chocolate comfort with these delightful Hot Cocoa Lava Cakes tonight!
Share on Pinterest
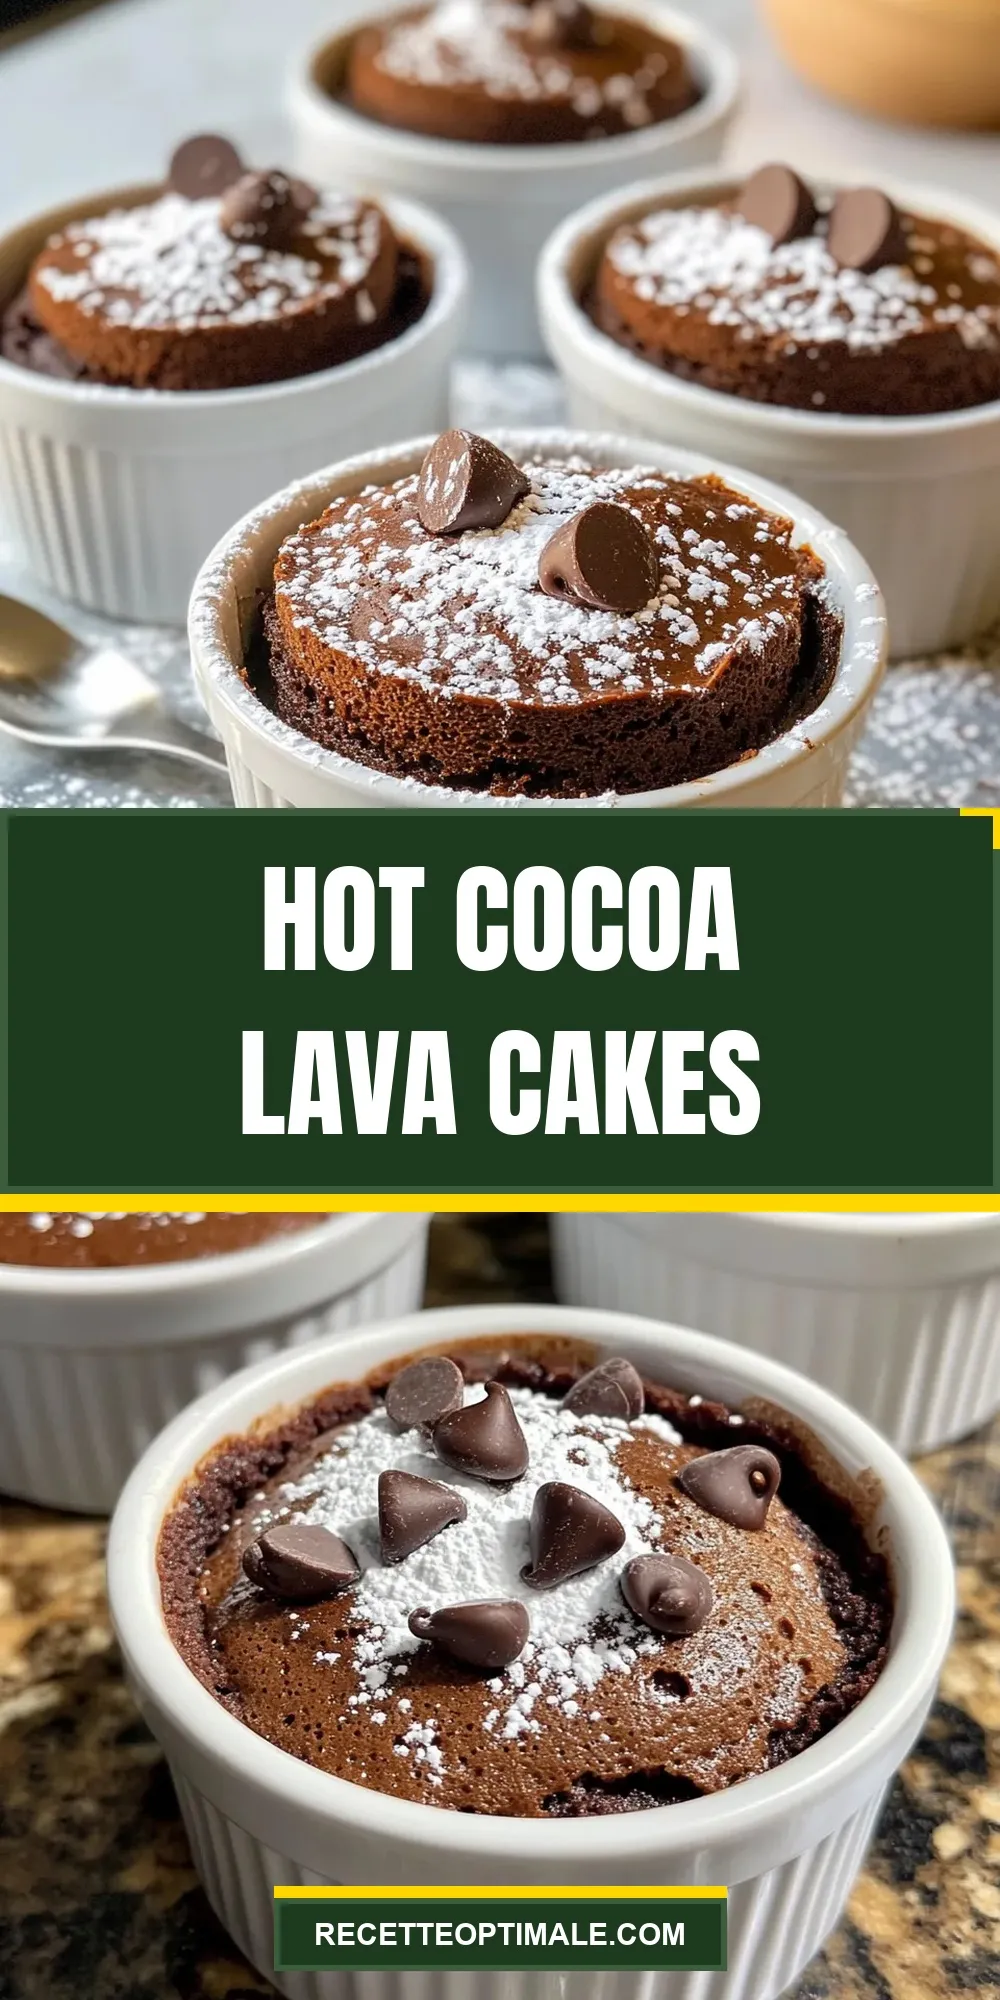
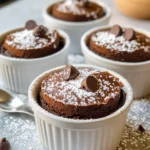
Hot Cocoa Lava Cakes
Ingredients
- 0.5 cup unsweetened cocoa powder
- 0.5 cup all-purpose flour
- 0.5 cup granulated sugar
- 0.25 cup unsalted butter melted
- 0.25 cup milk
- 2 large eggs
- 1 teaspoon vanilla extract
- 0.5 teaspoon baking powder
- pinch salt
- chocolate chips optional
- powdered sugar for dusting
Instructions
The Method for Hot Cocoa Lava Cakes
- Preheat your oven to 350°F (175°C). Grease four ramekins with butter or non-stick spray, and lightly dust with cocoa powder to prevent sticking.
- In a large bowl, sift together 1/2 cup unsweetened cocoa powder, 1/2 cup all-purpose flour, 1/2 cup granulated sugar, 1/2 teaspoon baking powder, and a pinch of salt.
- In a separate bowl, whisk together 2 large eggs, 1/4 cup melted unsalted butter (cooled slightly), 1/4 cup milk, and 1 teaspoon vanilla extract until smooth and frothy.
- Gradually add the wet mixture to the dry ingredients, stirring gently with a spatula or whisk until just combined. Avoid overmixing.
- Divide the batter evenly among the prepared ramekins. Press a few chocolate chips into the middle of each cake if desired for a molten center.
- Place the ramekins on a baking sheet and bake for 12-15 minutes. The edges should be set but the center slightly soft and jiggly.
- Let the cakes cool for 2-3 minutes before carefully running a knife around the edges. Invert each ramekin onto a plate and dust with powdered sugar. Serve immediately.
Equipment
- Ramekins
- Mixing bowls
- Whisk or electric mixer
- Measuring Cups & Spoons
- Spatula
- Oven
Notes
- Watch the bake time closely to ensure a molten center; overbaking will set the lava completely.
- Use high-quality cocoa powder and chocolate chips for the best flavor.
- Try adding instant espresso powder for a mocha twist on the classic lava cake.
- These cakes pair perfectly with vanilla ice cream or whipped cream for extra indulgence.
- Store leftovers in the refrigerator for up to 2 days and reheat gently to preserve texture.