Pumpkin pie is the quintessential dessert of the fall and holiday season, evoking warm memories of family gatherings, cozy kitchens, and the comforting aroma of spices. This Classic Pumpkin Pie recipe combines a smooth, creamy pumpkin filling with a perfectly flaky crust, creating a dessert that’s simple yet truly timeless. Whether you’re a seasoned baker or just starting out, this pie will be a delightful centerpiece on your dessert table. Let’s dive into what makes this pie so special and how to achieve pie perfection in your own kitchen.
Why This Classic Pumpkin Pie Stands Out
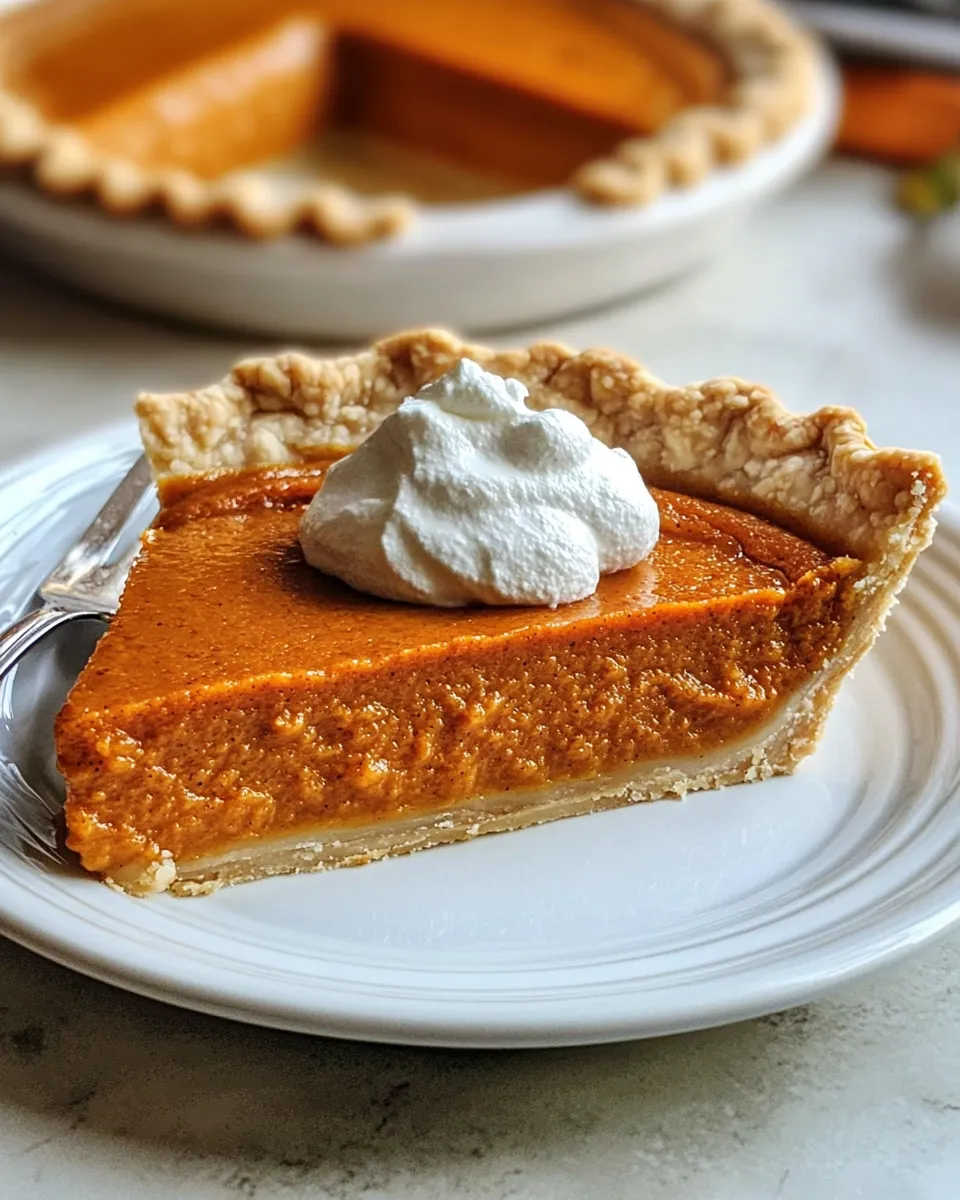
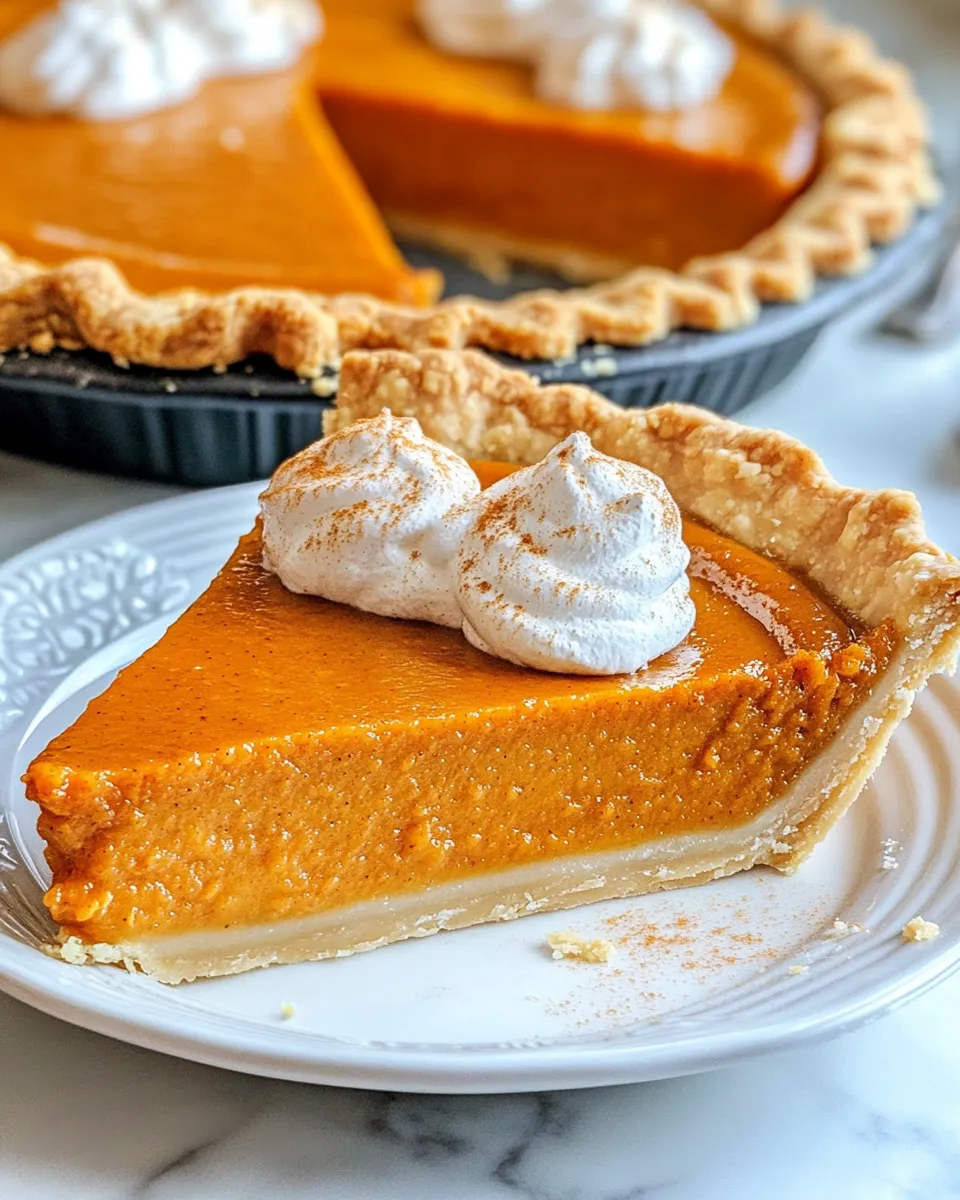
This Classic Pumpkin Pie stands out because it balances the rich, earthy flavor of pumpkin with just the right blend of warming spices. The texture is luxuriously smooth thanks to the evaporated milk, and the eggs help set the filling to a silky custard consistency. Unlike some pumpkin pies that can be overly sweet or dense, this recipe strikes a harmonious balance with moderate sweetness and spices that enhance rather than overpower the pumpkin. The single pie crust is buttery and tender, providing the perfect vessel for the luscious filling. Whether you serve it plain or with a dollop of whipped cream, this pie is sure to impress.
What We’re Using
- 1 pie crust: A single 9-inch pie crust, store-bought or homemade, for a flaky, golden base.
- 2 cups pumpkin puree: Pure pumpkin puree (not pumpkin pie filling) for that authentic pumpkin flavor.
- 1 cup evaporated milk: Adds creaminess and depth to the filling’s texture.
- 3/4 cup granulated sugar: Sweetens the pie without being overpowering.
- 1/2 teaspoon salt: Enhances all the flavors in the filling.
- 1 teaspoon ground cinnamon: The star spice that brings warmth and aroma.
- 1/2 teaspoon ground ginger: Adds a gentle spicy kick.
- 1/4 teaspoon ground nutmeg: Earthy and slightly sweet, it complements the cinnamon perfectly.
- 1/4 teaspoon ground cloves: A little goes a long way to deepen the spice profile.
- 2 large eggs: Bind the filling and create the custard base.
Hardware & Gadgets
- 9-inch pie dish: Essential for shaping and baking the pie.
- Mixing bowls: For combining the filling ingredients.
- Whisk: To thoroughly blend the eggs and spices into the pumpkin.
- Measuring cups and spoons: Accurate measurements ensure a perfect pie every time.
- Rolling pin: If using homemade pie crust, to roll it out evenly.
- Aluminum foil or pie shield: To protect the crust edges from over-browning.
- Cooling rack: Allows the pie to cool evenly after baking.
Classic Pumpkin Pie: Step-by-Step Guide
Step 1: Prepare the Pie Crust
Preheat your oven to 425°F (220°C). If you’re using a homemade crust, roll it out on a lightly floured surface to fit your 9-inch pie dish. Transfer the crust to the pie dish, gently pressing it into the edges. Trim any excess dough and crimp the edges decoratively if desired. Chill the crust in the refrigerator while you prepare the filling to help maintain its shape during baking.
Step 2: Mix the Pumpkin Filling
In a large bowl, combine 2 cups pumpkin puree, 1 cup evaporated milk, 3/4 cup granulated sugar, and 1/2 teaspoon salt. Add your spices — 1 teaspoon ground cinnamon, 1/2 teaspoon ground ginger, 1/4 teaspoon ground nutmeg, and 1/4 teaspoon ground cloves. Crack in the 2 large eggs, then whisk everything together until smooth and fully incorporated. The filling should have a creamy consistency with all the spices evenly distributed.
Step 3: Assemble and Bake
Remove your pie crust from the fridge. Pour the pumpkin filling into the crust, smoothing it out with a spatula. Place the pie on a baking sheet to catch any drips and bake at 425°F (220°C) for 15 minutes. Then, reduce the oven temperature to 350°F (175°C) and bake for an additional 40-50 minutes. The pie is done when the edges are set but the center still has a slight jiggle — it will continue to firm up as it cools.
Step 4: Cool and Serve
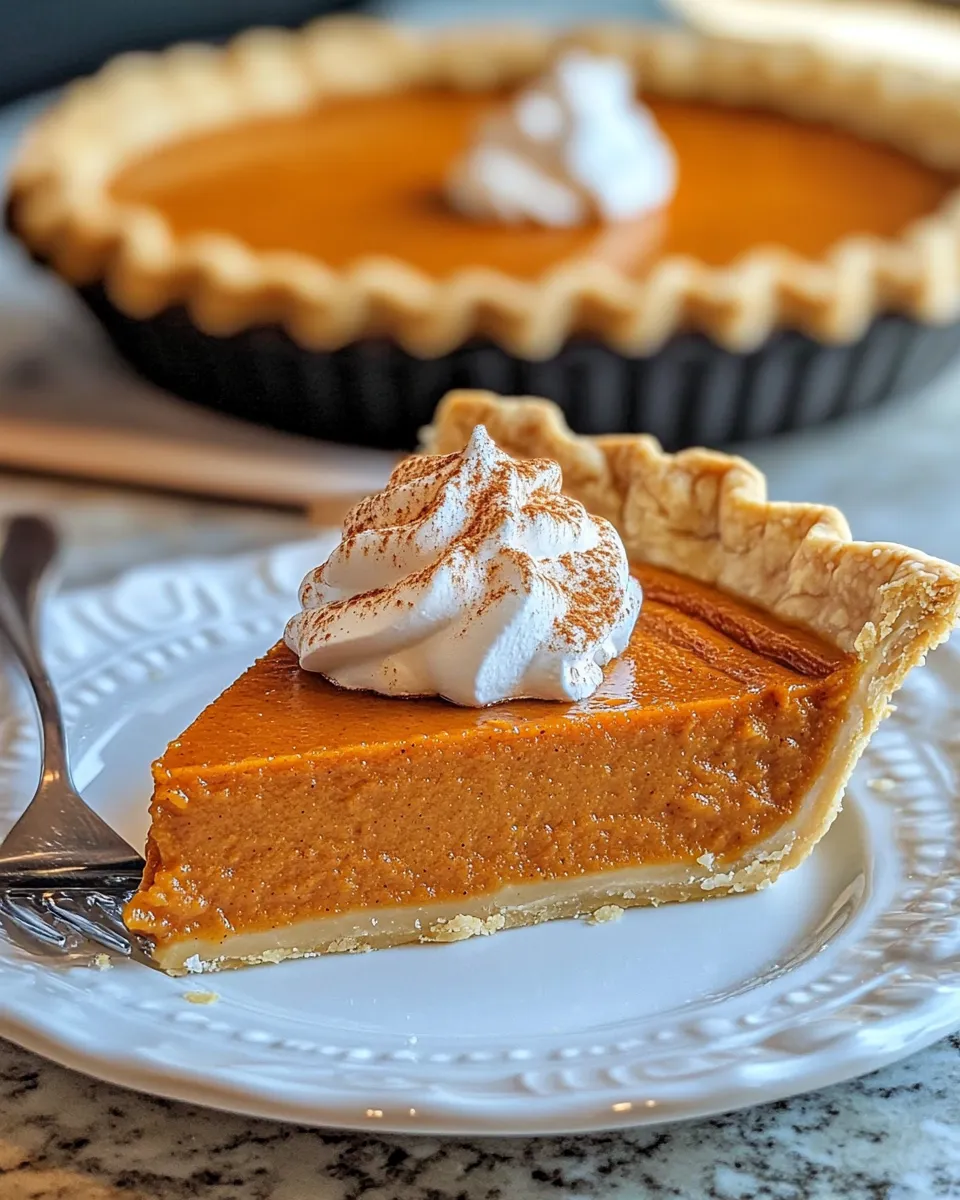
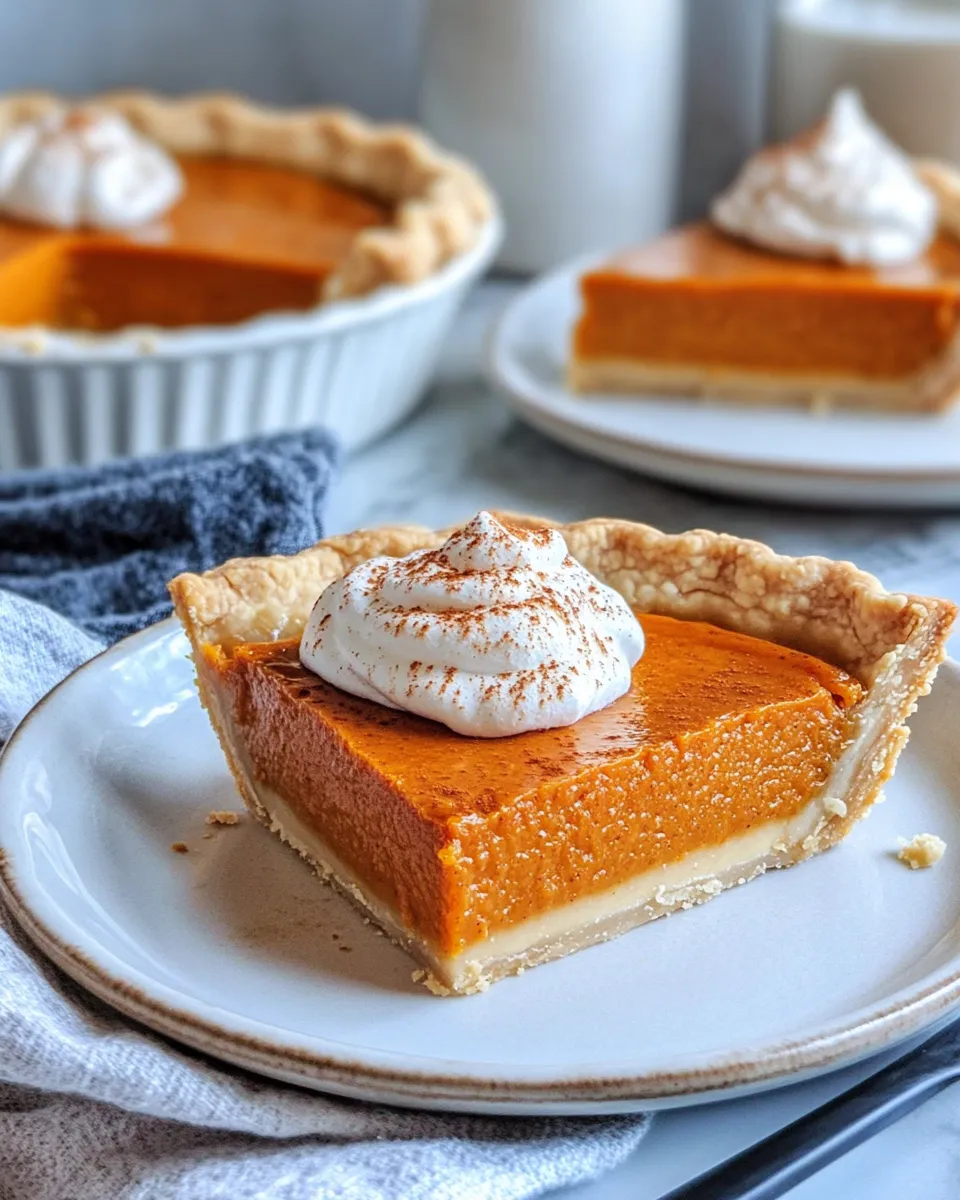
Once baked, remove the pie from the oven and let it cool completely on a wire rack. This cooling period is crucial for the filling to set perfectly. Serve your Classic Pumpkin Pie plain, or with a generous dollop of whipped cream or your favorite topping. For a fun twist, try pairing it with Chocolate Pumpkin Spice Cupcakes for a full pumpkin-themed dessert spread!
Season-by-Season Upgrades
- Fall: Add toasted pecans or walnuts on top for crunch and nutty flavor.
- Winter: Swirl in cream cheese before baking for a creamy, tangy variation.
- Spring: Top with fresh berries and a sprinkle of lemon zest for brightness.
- Summer: Serve chilled with a scoop of vanilla ice cream for a refreshing treat.
Chef’s Rationale
- The use of evaporated milk instead of heavy cream keeps the pie lighter but still creamy.
- The specific spice blend is balanced to enhance the pumpkin without overwhelming it.
- Using a single crust keeps the pie simple and lets the filling shine.
- Baking at a higher temperature initially helps set the crust quickly, preventing sogginess.
- Allowing the pie to cool fully improves texture and flavor development.
Refrigerate, Freeze, Reheat
After baking, cover your Classic Pumpkin Pie loosely with plastic wrap or foil and refrigerate. It will keep well for 3 to 4 days. To freeze, wrap the cooled pie tightly in plastic wrap and then in foil; it will keep for up to 2 months. Thaw overnight in the refrigerator before serving. To reheat, warm slices gently in the microwave or oven at low heat just until warmed through — avoid overheating to keep the custard from curdling.
Top Questions & Answers
Can I use fresh pumpkin instead of canned pumpkin puree?
Yes! You can roast and puree fresh pumpkin, but make sure to cook it down so it’s thick and not watery. Fresh pumpkin may have a milder flavor, so you might want to adjust the spices to taste.
Why do I need to bake the pie at two different temperatures?
The initial high heat helps the crust set quickly and prevents it from becoming soggy. Lowering the temperature after 15 minutes allows the filling to cook gently and evenly without cracking or drying out.
Can I make this Classic Pumpkin Pie ahead of time?
Absolutely! This pie actually tastes better after the flavors meld for a day or two. Bake it a day ahead, refrigerate, and serve chilled or gently reheated.
What can I serve with this pumpkin pie?
Whipped cream is a classic pairing, but you can also try vanilla ice cream or a drizzle of caramel sauce. For a creative dessert board, consider adding treats like Brownie Bottom Pumpkin Cheesecake to complement the flavors and wow your guests.
Cook This Next
- Chocolate Pumpkin Spice Cupcakes – A moist and spiced cupcake perfect for pumpkin lovers.
- Brownie Bottom Pumpkin Cheesecake – A decadent dessert that combines rich chocolate and creamy pumpkin.
- Spiced Pumpkin Muffins – Great for breakfast or a snack with a hint of spice.
- No-Bake Pumpkin Pie Bars – Easy-to-make bars with all the pumpkin pie flavor and none of the fuss.
Final Bite
This Classic Pumpkin Pie is a celebration of fall’s best flavors, wrapped in a flaky crust and bursting with the cozy warmth of cinnamon, ginger, nutmeg, and cloves. Simple to make yet endlessly satisfying, it’s a recipe that belongs on every dessert table. Whether you’re baking for a holiday feast or a cozy night in, this pie offers comfort in every bite. Enjoy the rich tradition and delightful taste of pumpkin pie done right.
Share on Pinterest


Classic Pumpkin Pie
Ingredients
For the Pie Crust
- 1 pie crust 9-inch pie crust store-bought or homemade
For the Pumpkin Filling
- 2 cups pumpkin puree pure pumpkin puree (not pumpkin pie filling)
- 1 cup evaporated milk
- 3/4 cup granulated sugar
- 1/2 teaspoon salt
- 1 teaspoon ground cinnamon
- 1/2 teaspoon ground ginger
- 1/4 teaspoon ground nutmeg
- 1/4 teaspoon ground cloves
- 2 large eggs
Instructions
Prepare the Pie Crust
- Preheat your oven to 425°F (220°C). If you’re using a homemade crust, roll it out on a lightly floured surface to fit your 9-inch pie dish. Transfer the crust to the pie dish, gently pressing it into the edges. Trim any excess dough and crimp the edges decoratively if desired. Chill the crust in the refrigerator while you prepare the filling to help maintain its shape during baking.
Mix the Pumpkin Filling
- In a large bowl, combine 2 cups pumpkin puree, 1 cup evaporated milk, 3/4 cup granulated sugar, and 1/2 teaspoon salt. Add your spices — 1 teaspoon ground cinnamon, 1/2 teaspoon ground ginger, 1/4 teaspoon ground nutmeg, and 1/4 teaspoon ground cloves. Crack in the 2 large eggs, then whisk everything together until smooth and fully incorporated. The filling should have a creamy consistency with all the spices evenly distributed.
Assemble and Bake
- Remove your pie crust from the fridge. Pour the pumpkin filling into the crust, smoothing it out with a spatula. Place the pie on a baking sheet to catch any drips and bake at 425°F (220°C) for 15 minutes. Then, reduce the oven temperature to 350°F (175°C) and bake for an additional 40-50 minutes. The pie is done when the edges are set but the center still has a slight jiggle — it will continue to firm up as it cools.
Cool and Serve
- Once baked, remove the pie from the oven and let it cool completely on a wire rack. This cooling period is crucial for the filling to set perfectly. Serve your Classic Pumpkin Pie plain, or with a generous dollop of whipped cream or your favorite topping.
Equipment
- 9-inch pie dish
- Mixing bowls
- Whisk
- Measuring cups and spoons
- Rolling Pin
- Aluminum foil or pie shield
- Cooling rack
Notes
- Refrigerate leftovers covered for 3 to 4 days to maintain freshness.
- Freeze the pie wrapped tightly for up to 2 months; thaw overnight before serving.
- Prevent overbaking by baking at high heat first, then lowering the temperature.
- For a variation, swirl in cream cheese before baking for a tangy twist.
- Serve chilled with vanilla ice cream during summer for a refreshing treat.